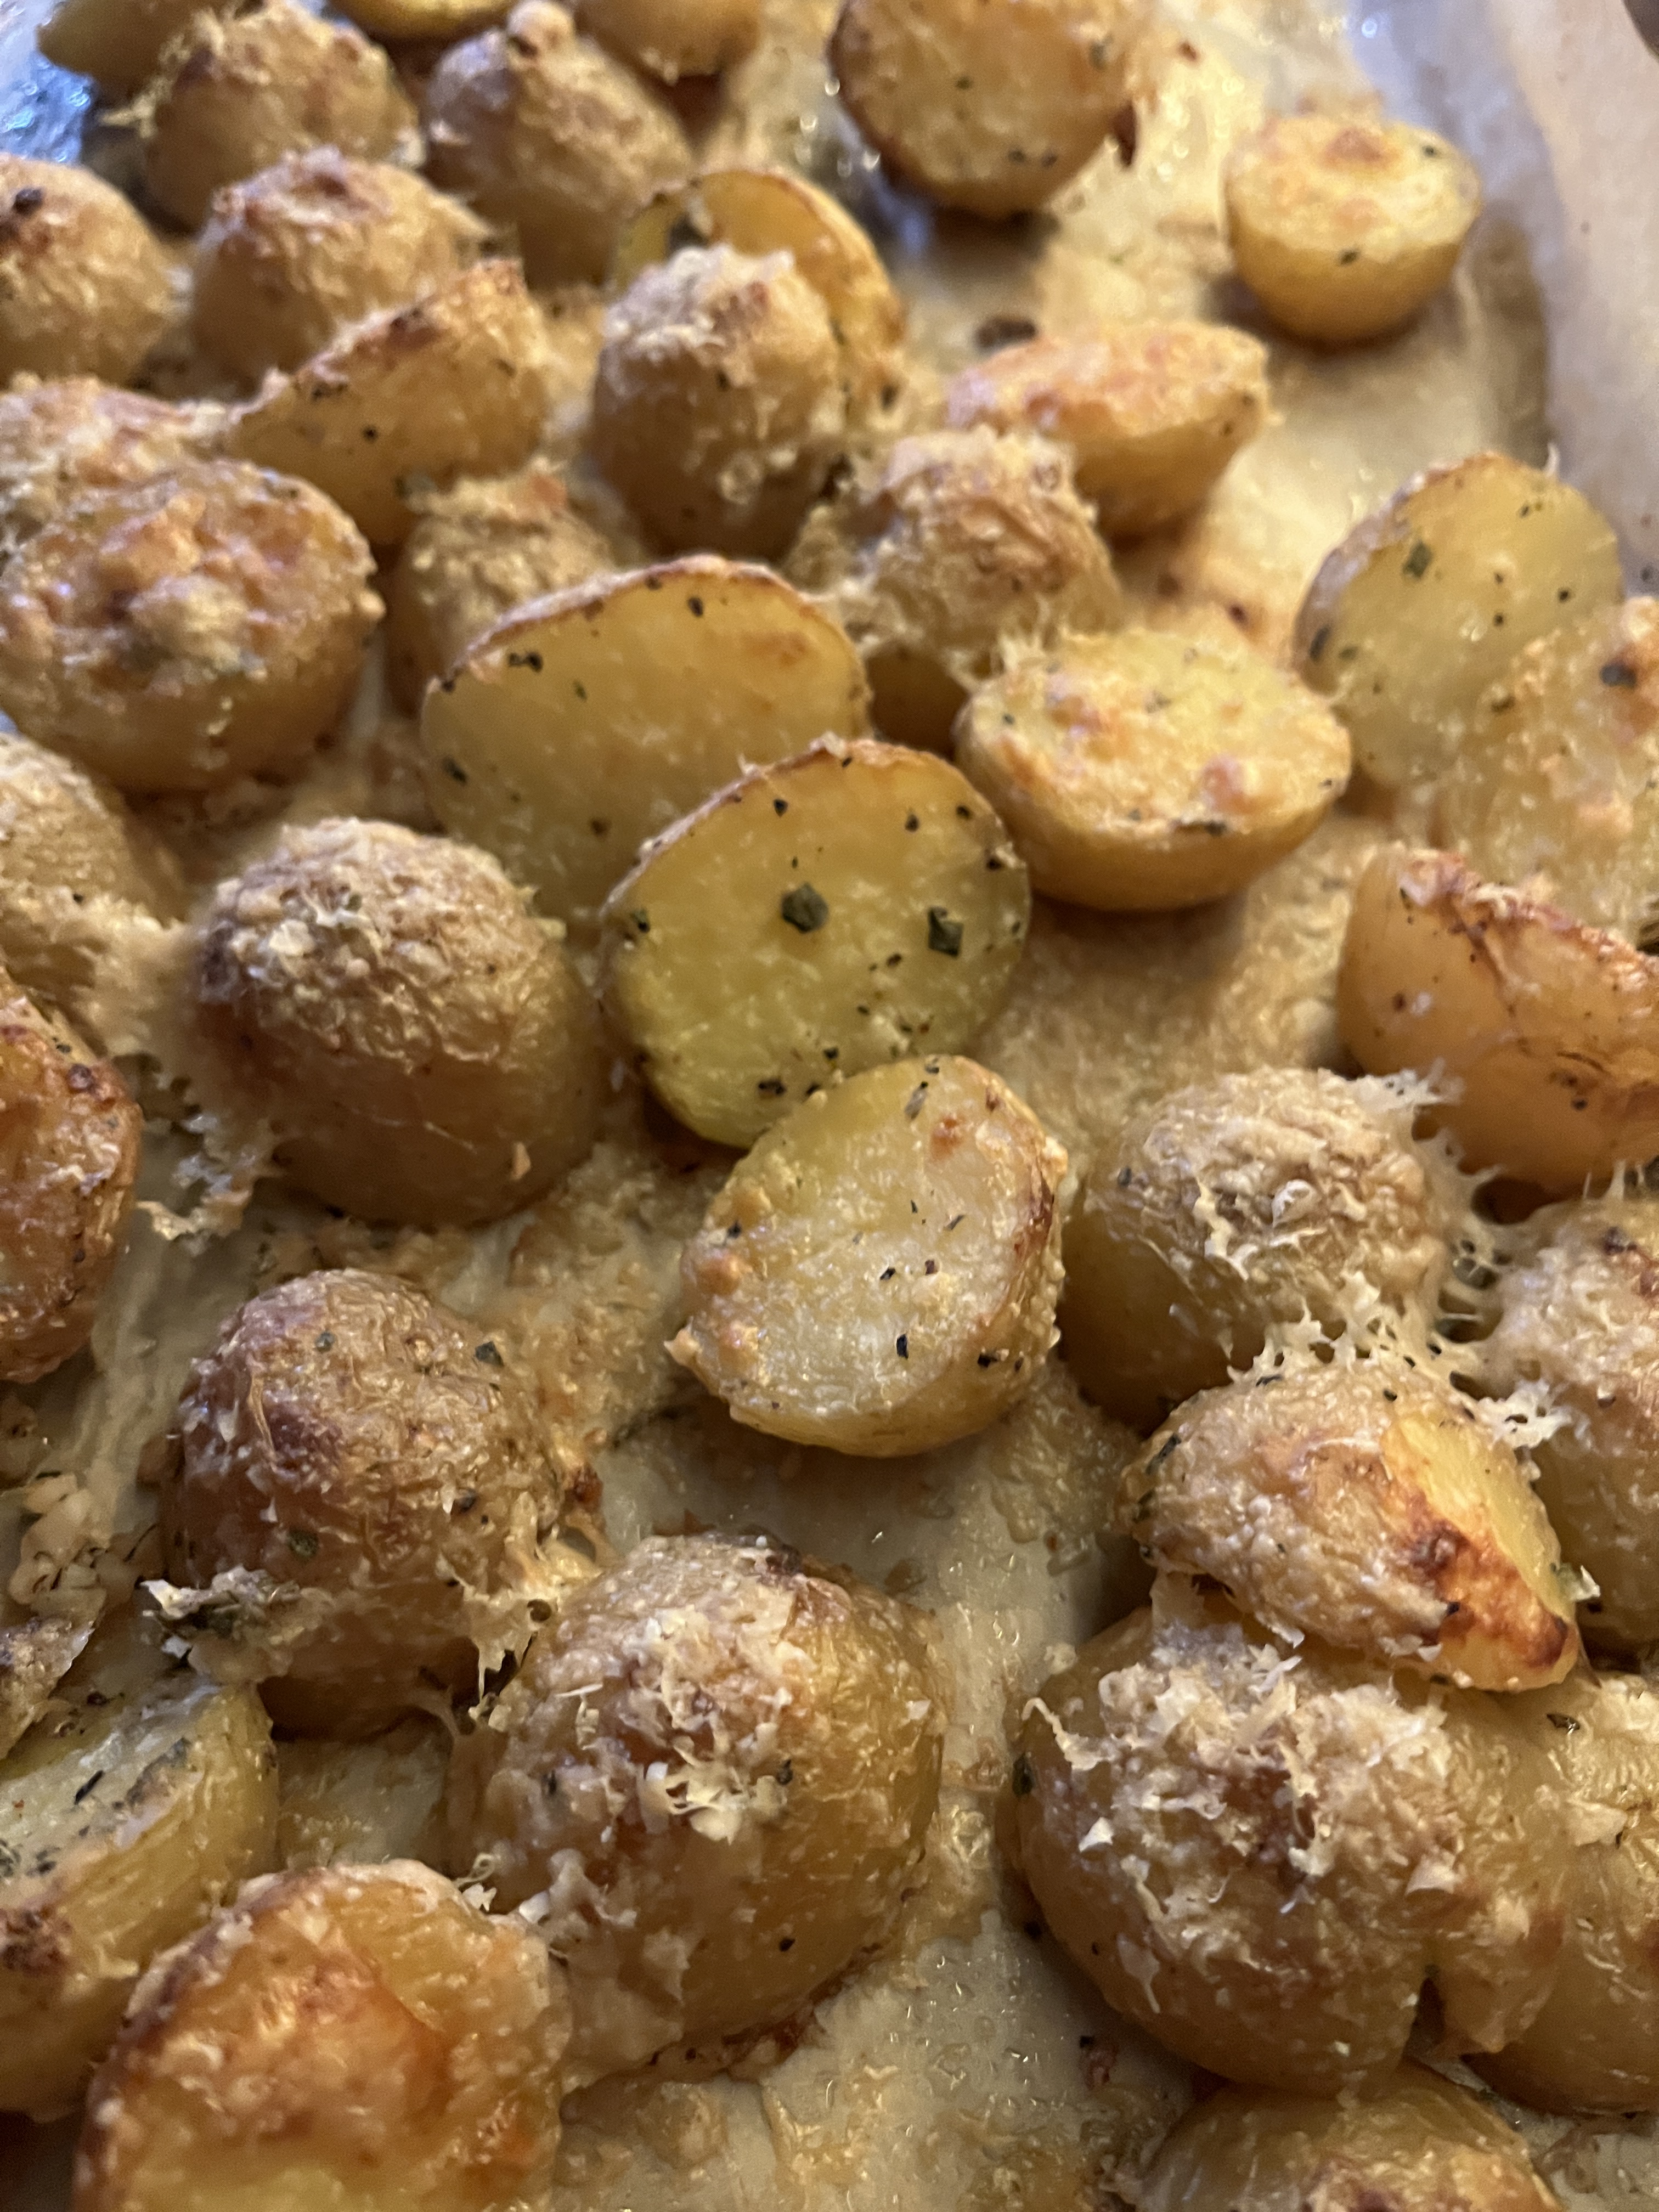
This cheesy potato recipe is very simple and tasty. The amount of ingredient should be proportionate to the amount of potatoes you use.
The website I found this recipe on is biteswithbri.com.
Ingredients:
Yukon Gold or red potatoes, cut in half
Garlic, minced
Thyme, dried or fresh, chopped finely
Olive oil
Salt and pepper to taste
Parmigiana cheese, grated
Directions:
Preheat oven to 425 F. Boil a large pot of salted water because you are going to precook the potatoes partially. Once the water is boiling, cook for 10-12 minutes. The potatoes should not be falling apart.
Strain the potatoes and toss with olive oil, garlic, thyme and salt and pepper.
Dip each cut side into the grated parmigiana. Press firmly so that cheese sticks.
Place on baking sheet covered with parchment paper. Finish off by sprinkling some cheese over the top too.
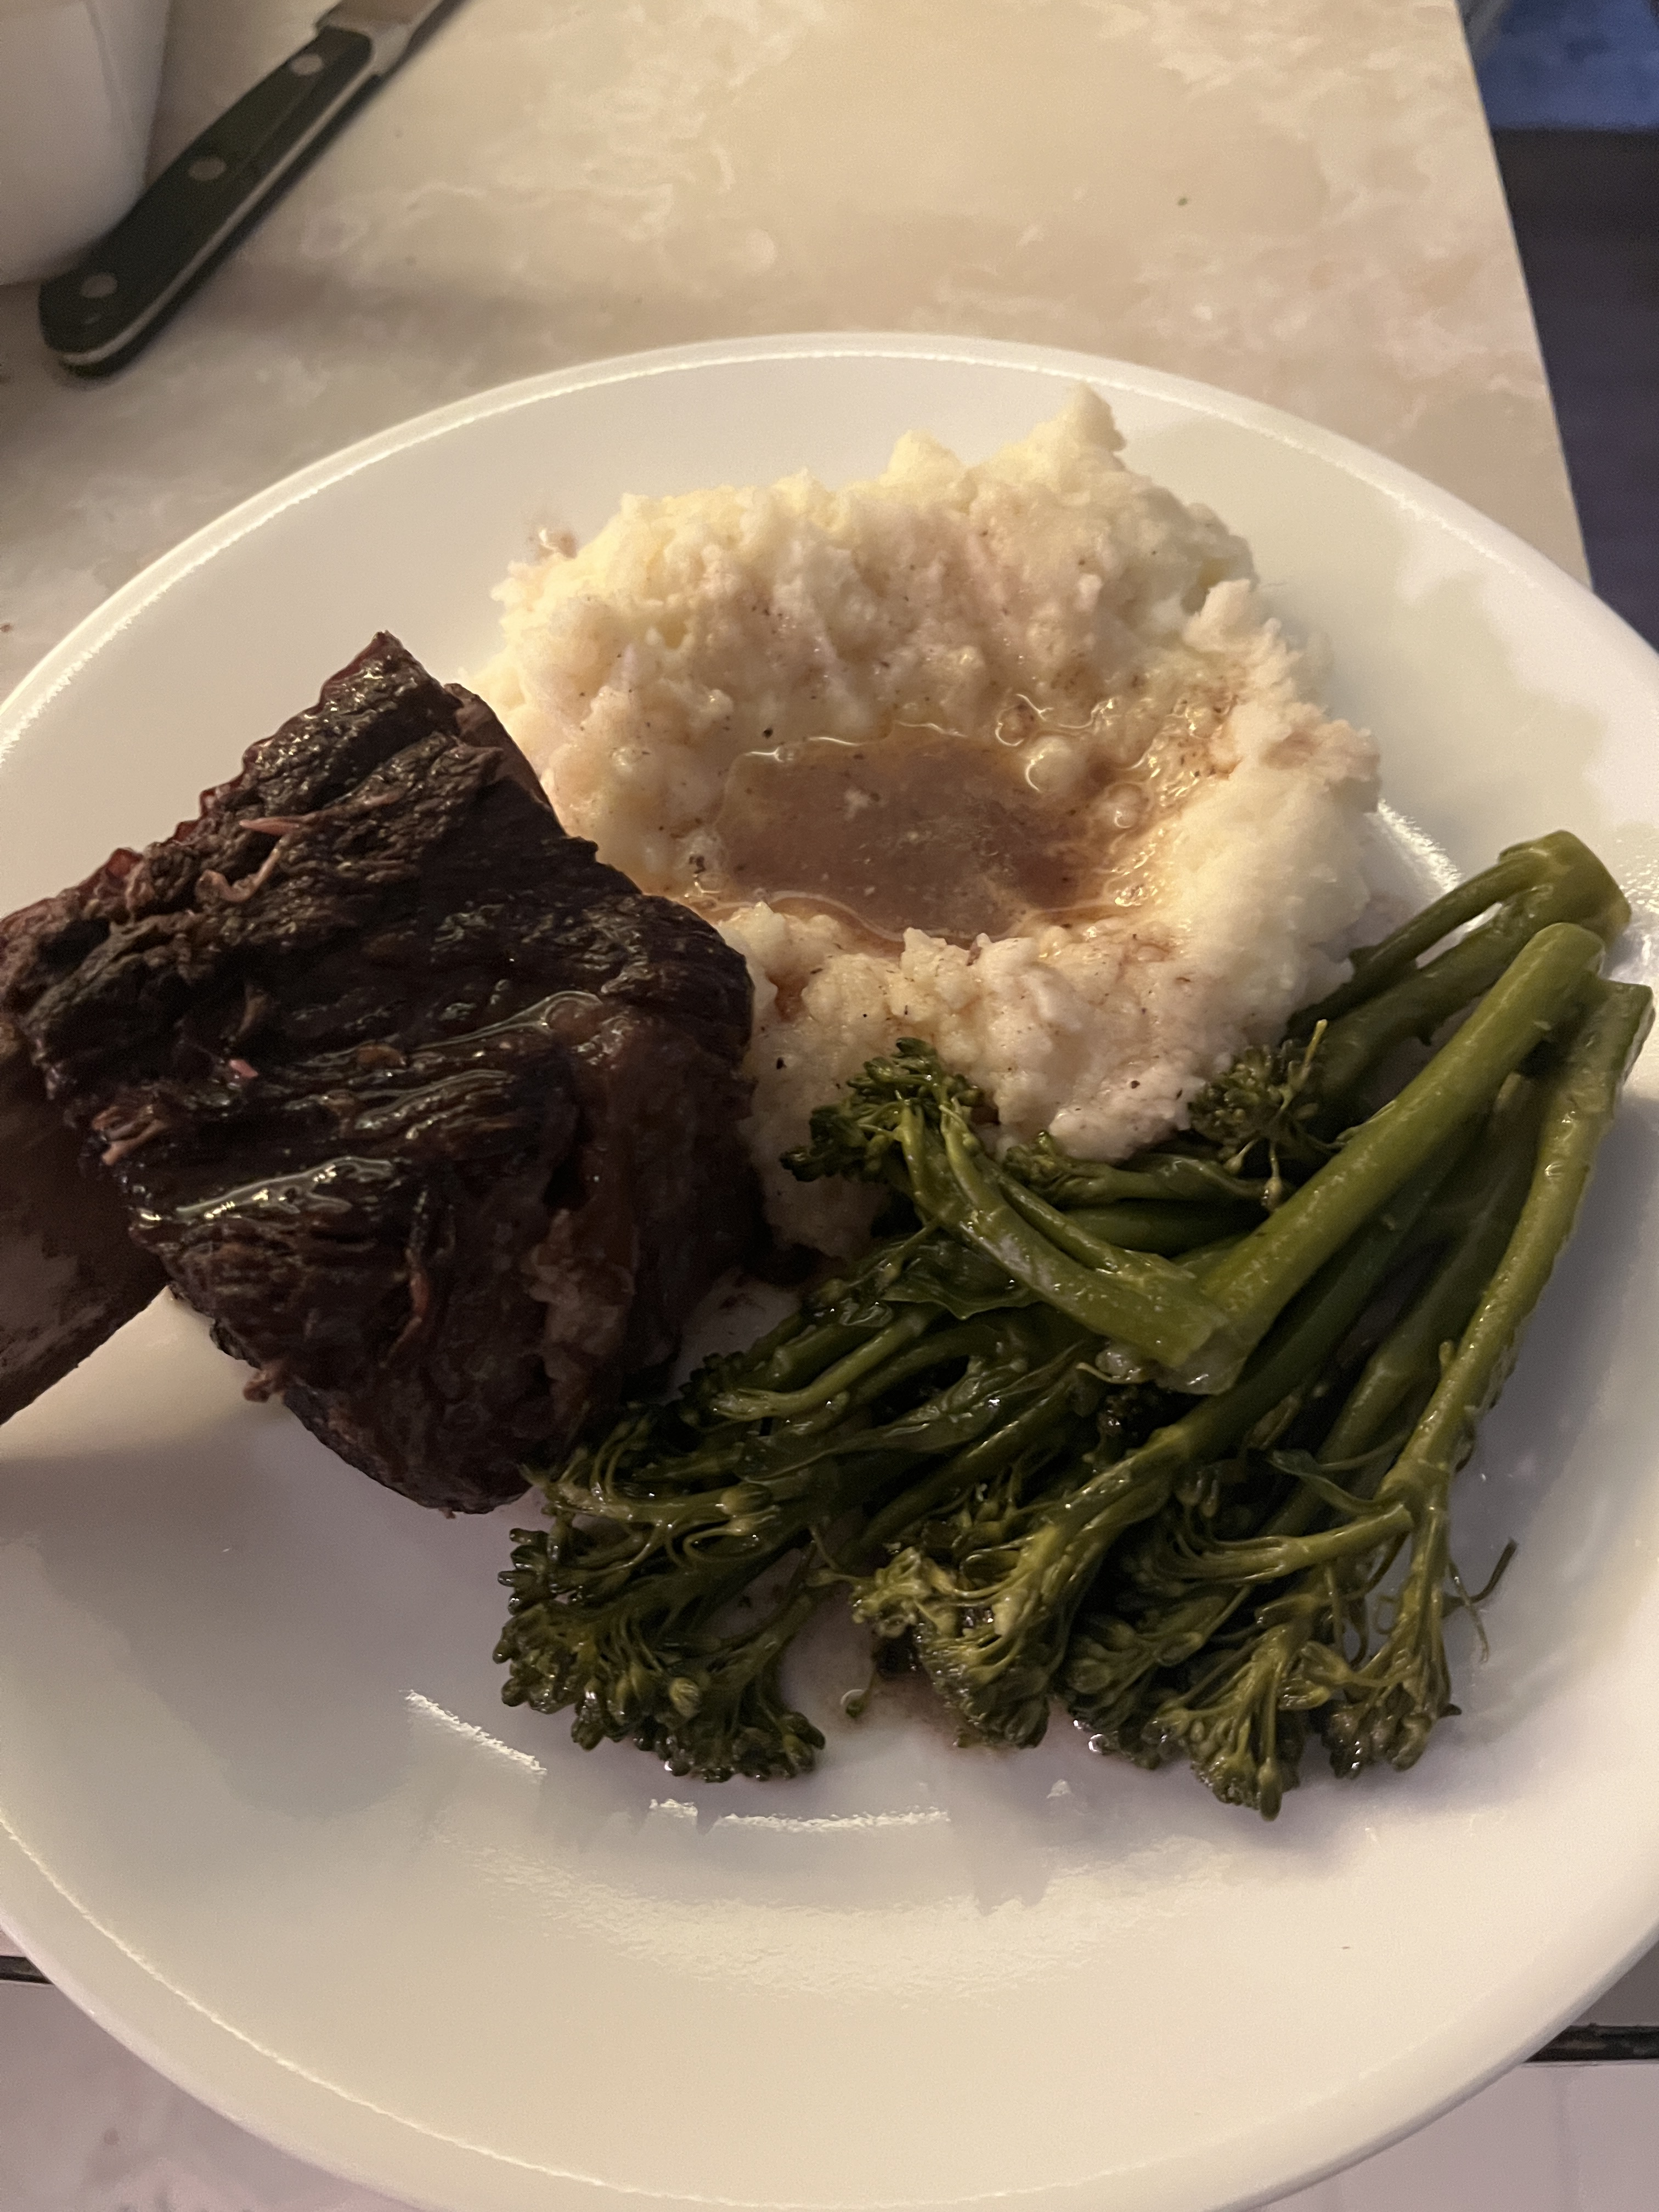
For this recipe I have taken Julia Child’s pot roast recipe and tweaked it for short ribs. I like to serve these with mashed potatoes or cheesy polenta.
Picture above is my mom and I on the night of my high school graduation.
She died on August 7, 2025, and I am devastated.
Ingredients:
2-3 lbs beef short ribs
1-2 Tbsp extra-virgin olive oil
1 white onion, chopped
1 carrot, chopped
1 bay leaf
1 tsp fresh thyme
5-6 tomatoes, chopped
1 ½ cup red wine (add enough wine and water to cover meat and keep meat covered by liquid at all times)
1 cup water
Salt and pepper to taste
Directions:
Preheat oven to 350F.
Salt and pepper short ribs. Heat oil on the stovetop in a stock pot that is oven proof. Brown meat on all sides. Remove meat and set aside.
Add white onion and carrot, sauté for 5-10 minutes.
Deglaze the pan with the red wine for 5 minutes. Add the thyme, tomatoes, water, browned short ribs and salt. Bring to boil. Cover and place in oven for 2 hours.
Reduce the oven to 325F and continue to cook for another 30-45 minutes. Test the tenderness of the ribs, they should be falling off the bone. If not, continue to cook at the low heat and check every 30 minutes.
Our neighbors gave us an electric pressure cooker so this recipe was done in that cooker. If you don’t have a pressure cooker, not to worry, you can simmer it for a longer cooking time on the stovetop to get the same tenderness to the meat. It’s just going to be a longer cook time. I have directions for both below.
Picture above is my mom and my first child, Cassie, on the BCFerry to Vancouver Island in 2001.
Ingredients:
4 lbs pork butt, cut into 1 inch cubes
28 oz can tomatillo
16 oz verde salsa
Chicken broth – if being cooked on the stovetop
1 onion, diced fine
2 cloves garlic, minced
Cumin, salt and pepper to taste
1 Anaheim chili, diced and seeded
1/4 cup cilantro, chopped
Extra-virgin olive oil
Lime
Directions:
Pressure cooker directions:
Season pork with salt and pepper. Heat olive oil and brown pork on all sides. Add water from tomatillo with meat and cook on high pressure for 20 minutes. Strain meat and keep the tomatillo water. In the same pot add oil and onions and cook until translucent, about 5-10 minutes. Add garlic and cook for another 5 minutes.
Grab a blender or food processor and puree the tomatillos, add those to the onion mixture. Add pork, salsa verde, salt, pepper, and 1/2 cup of the tomatillo water. Simmer for another 5 minutes until pork is fork tender.
Add cilantro and lime when served on tortillas.
Stove top directions:
Season pork with salt and pepper. Heat olive oil and brown pork on all sides.
Remove pork from the pan and place a bit more olive oil in there. Sauté the onions for 5-10 minutes. Add the garlic for another 5 minutes.
Add the water from the tomatillos but add some chicken stock so that there is enough liquid to cover t he meat. Add the cumin, cover and let simmer for 2-4 hours.
Grab a blender or food processor and puree the tomatillos, chili and the salsa verde. Add the puree to the meat and simmer for another 30-45 minutes.
Serve with cilantro and lime garnish when served on tortillas.
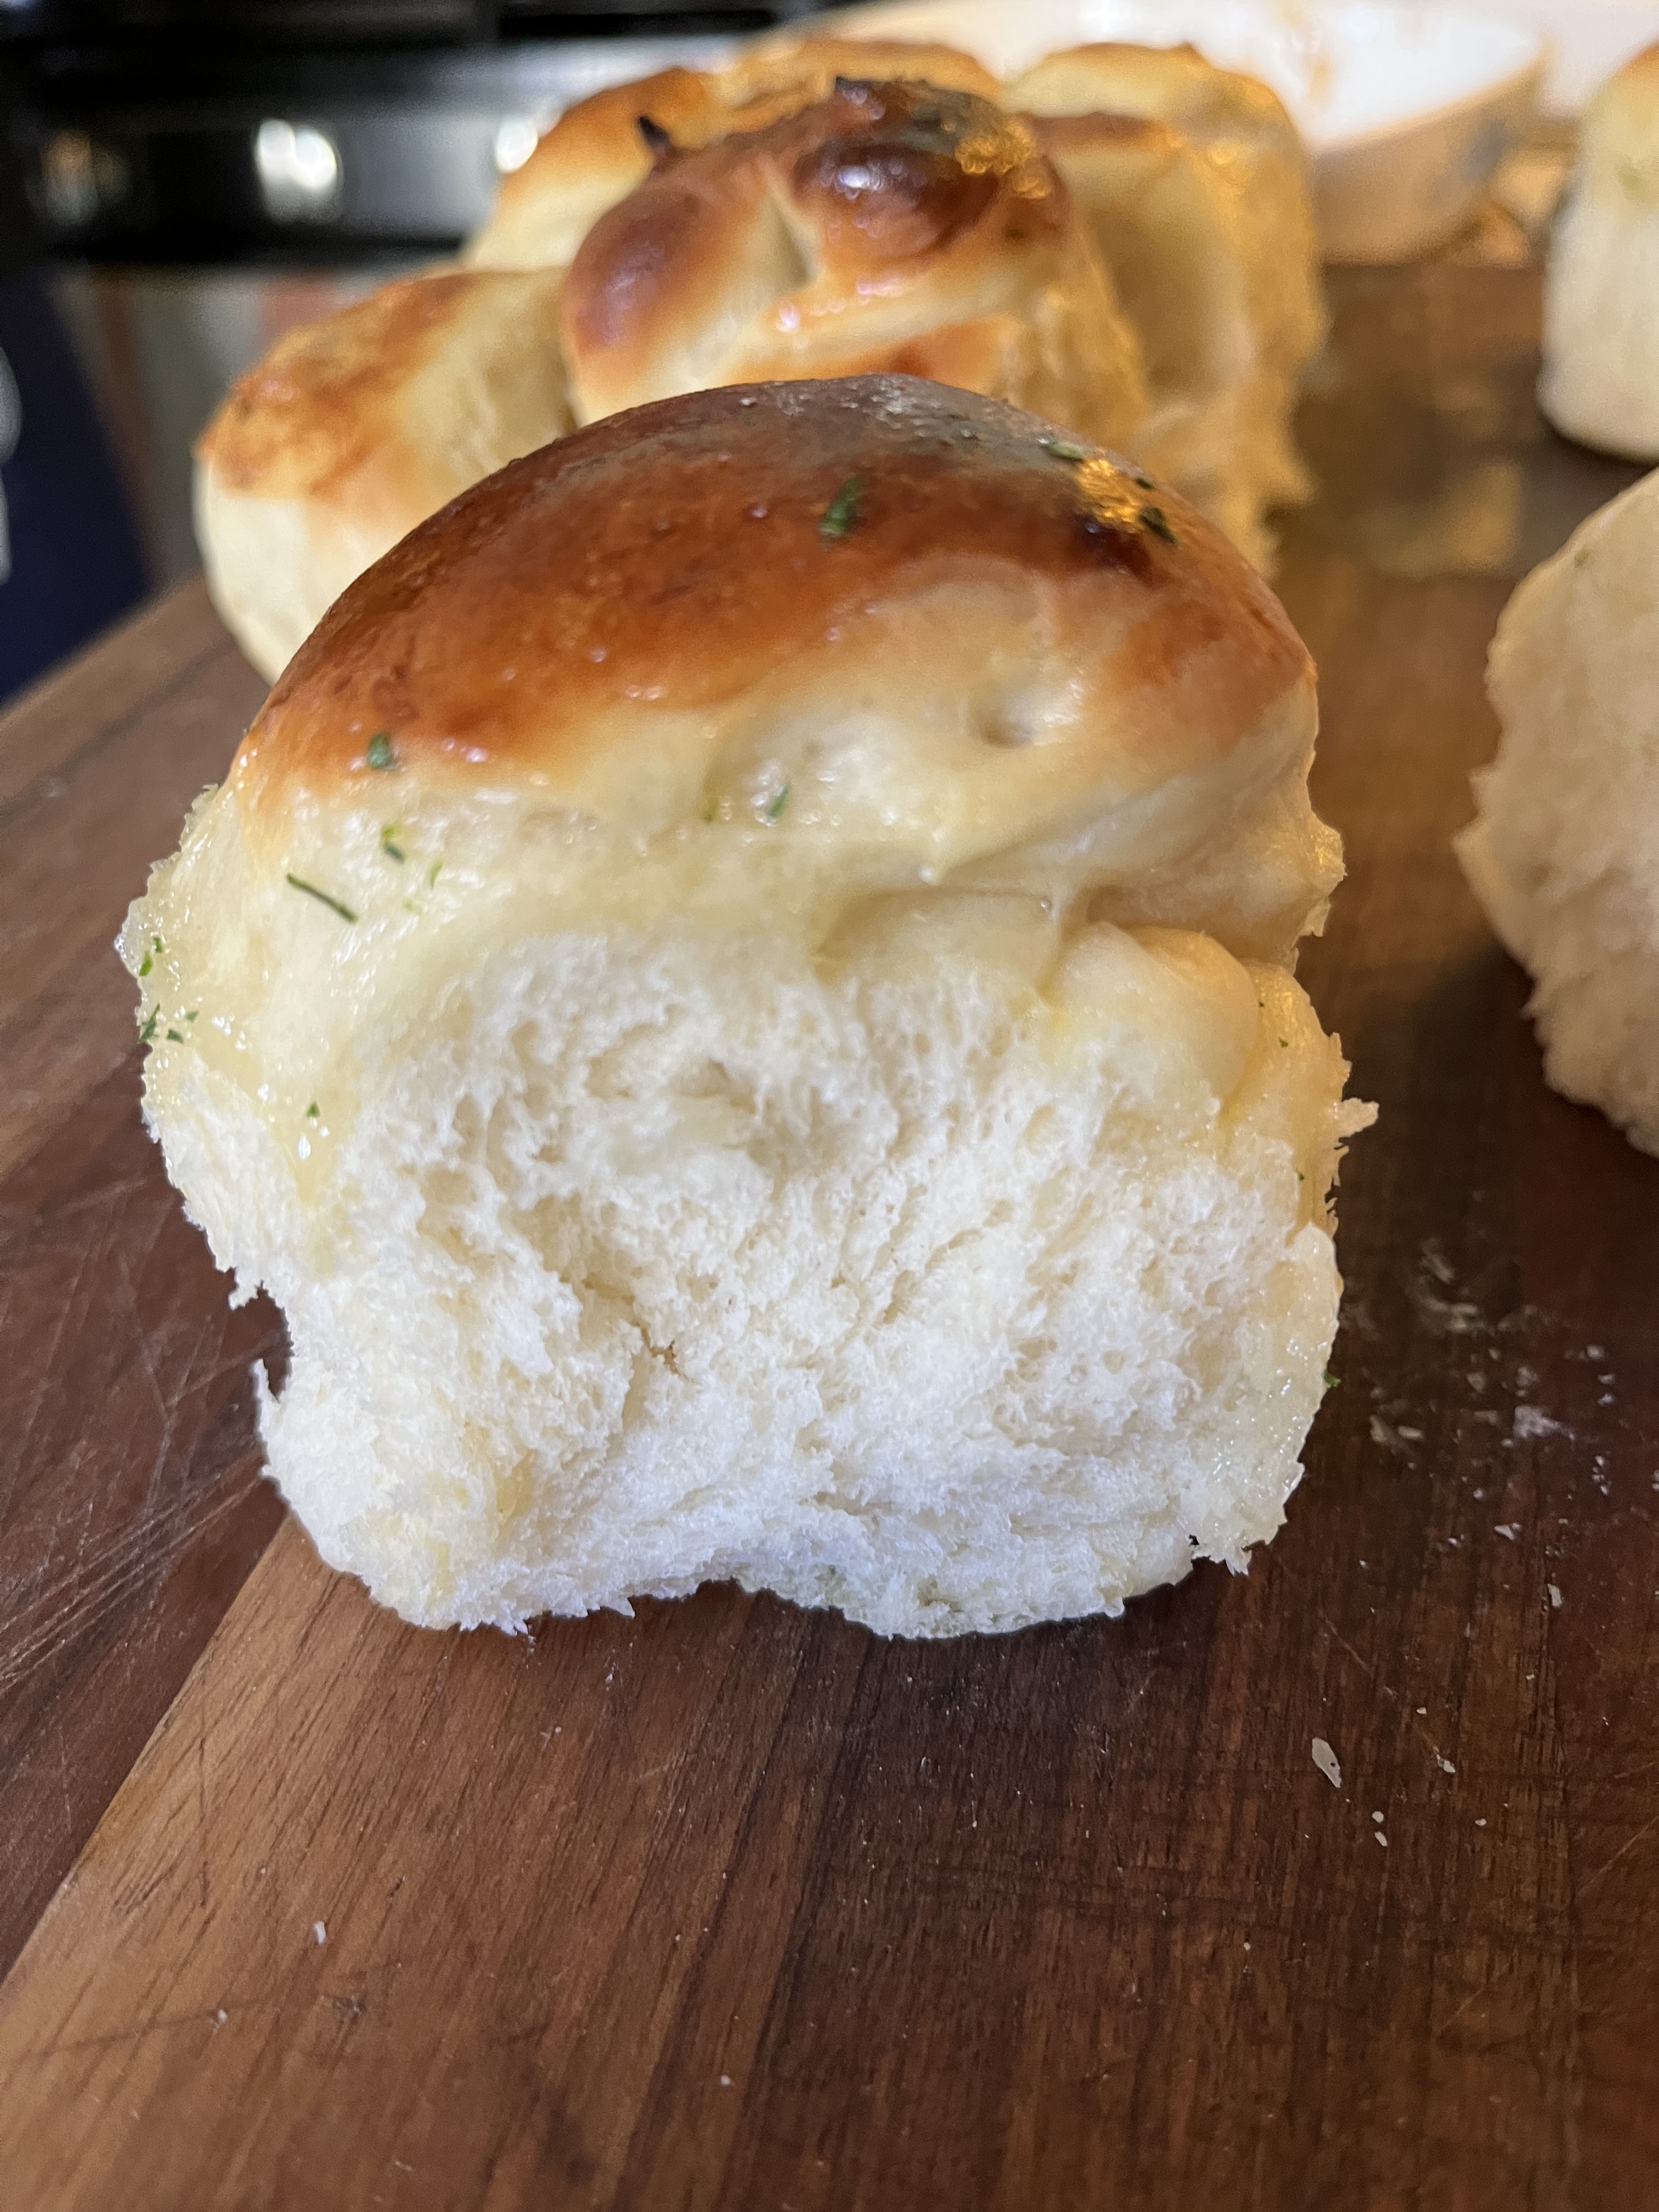
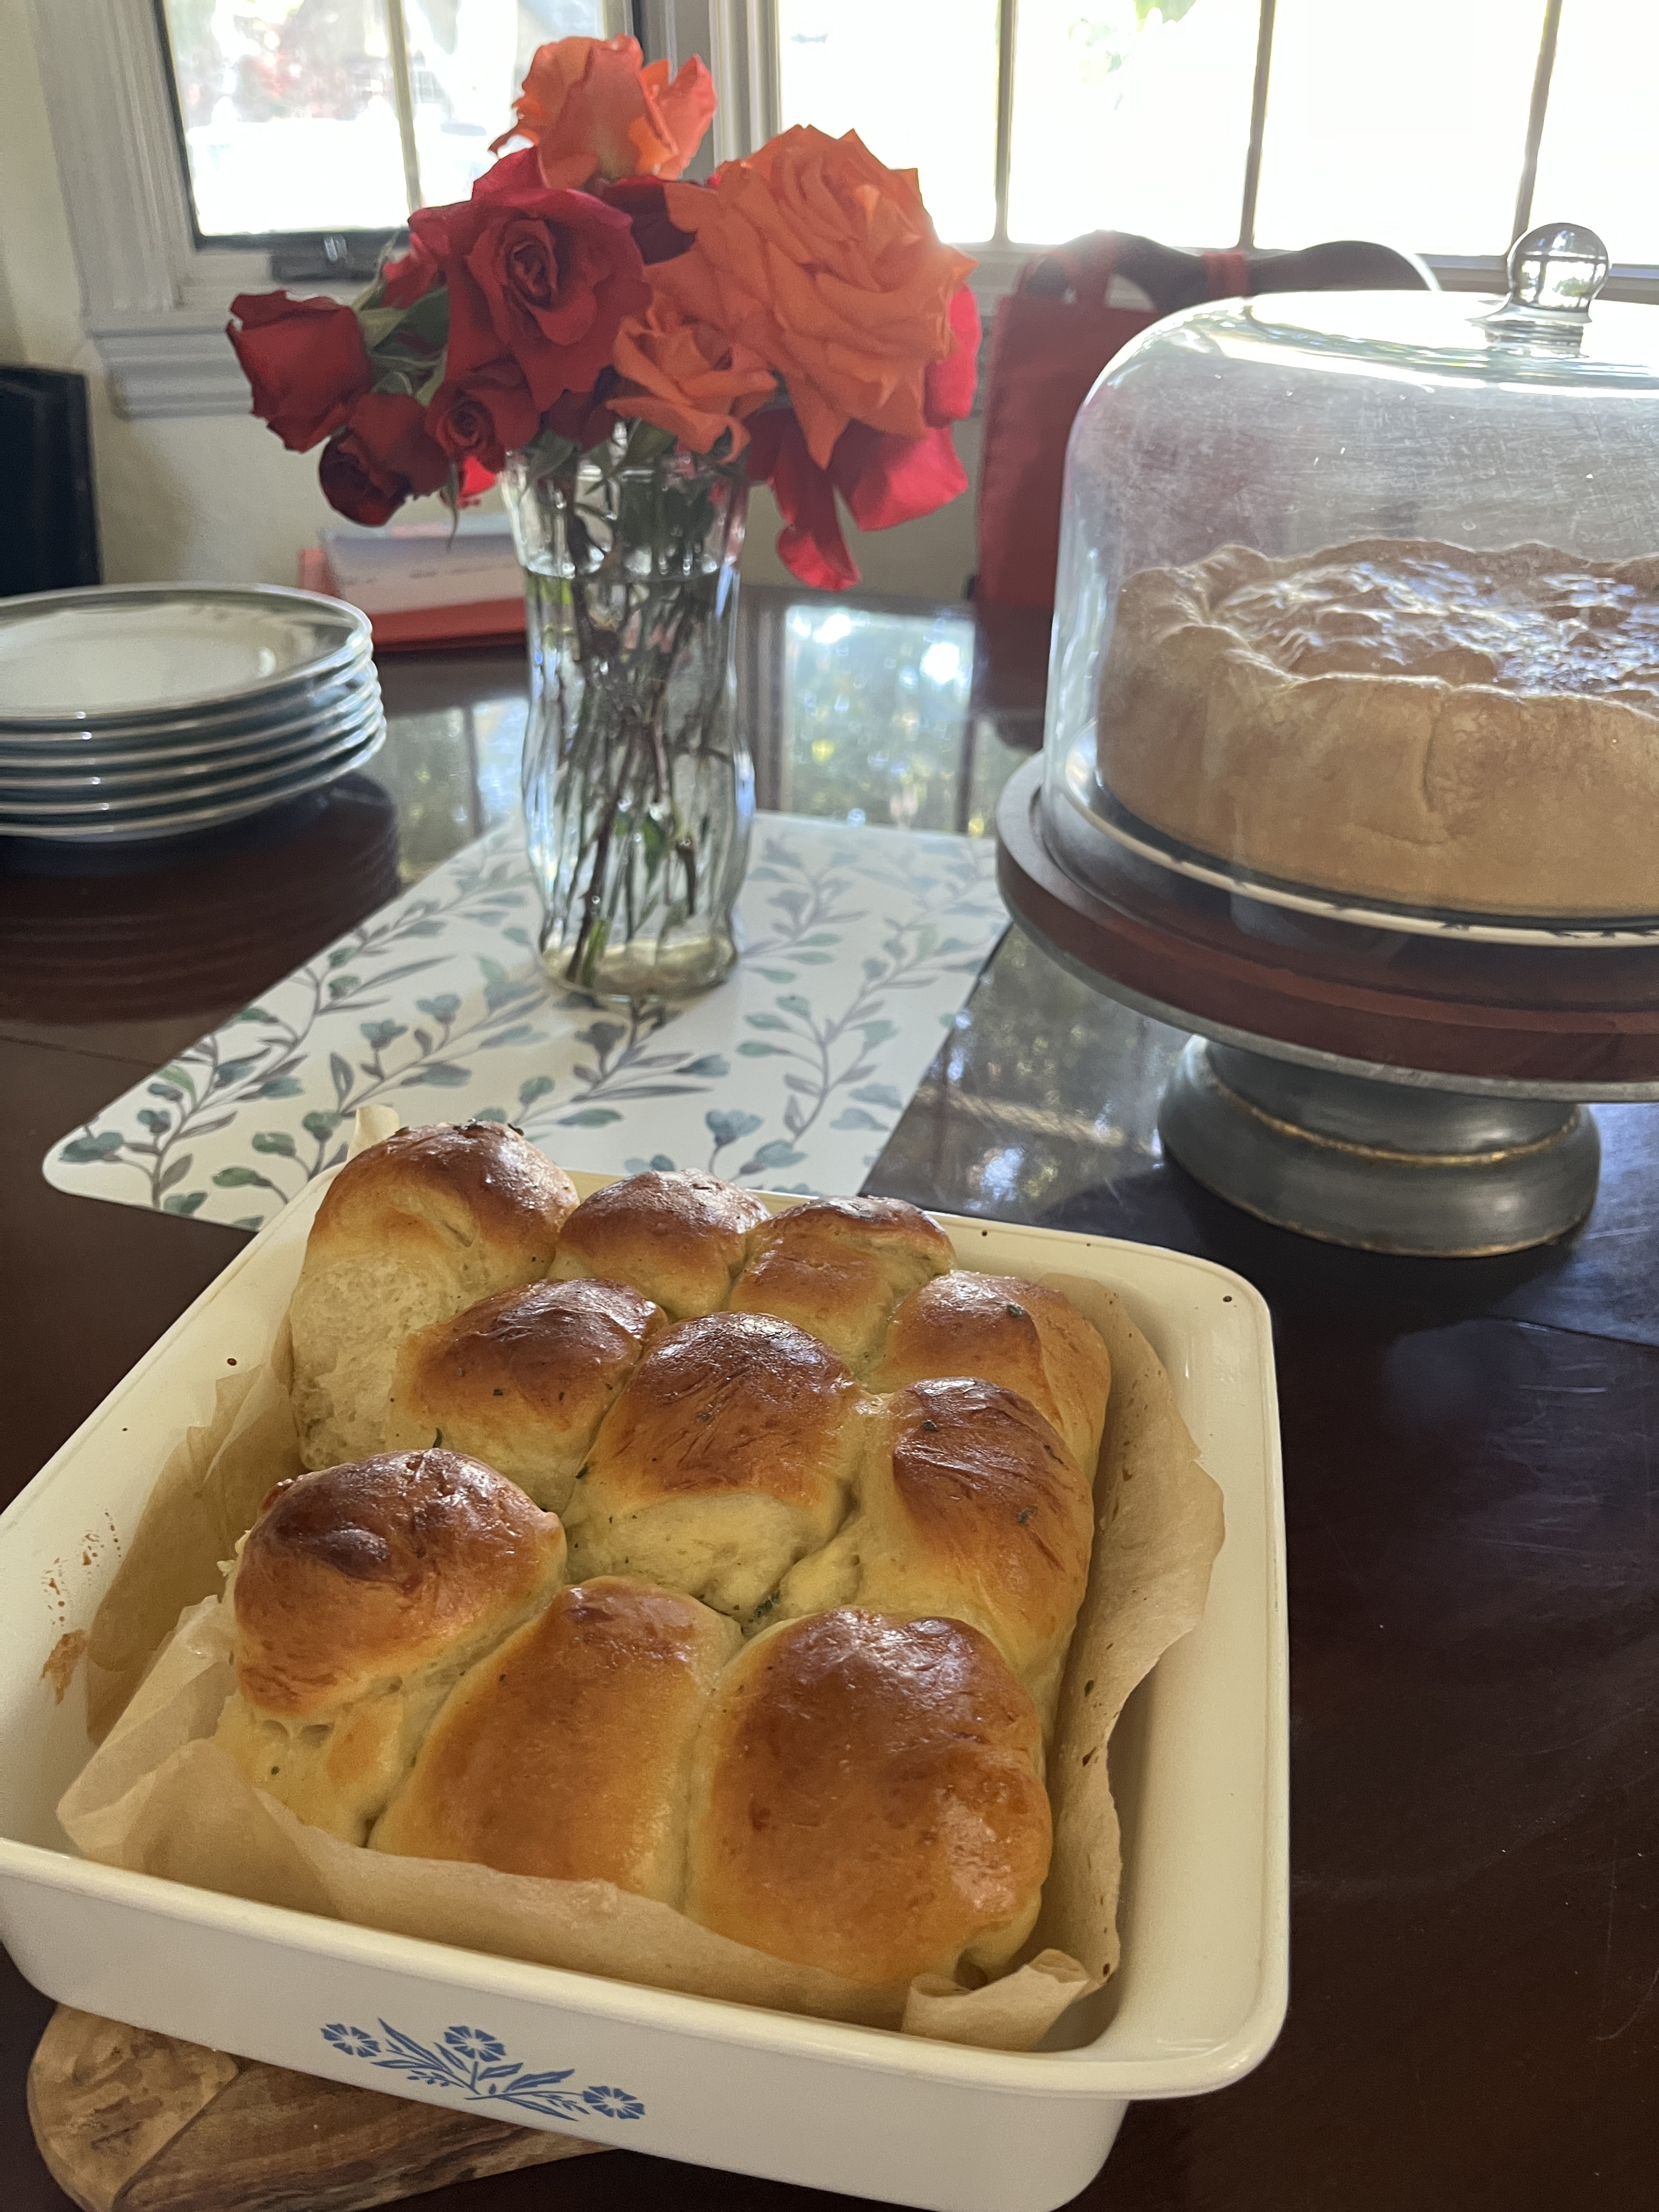
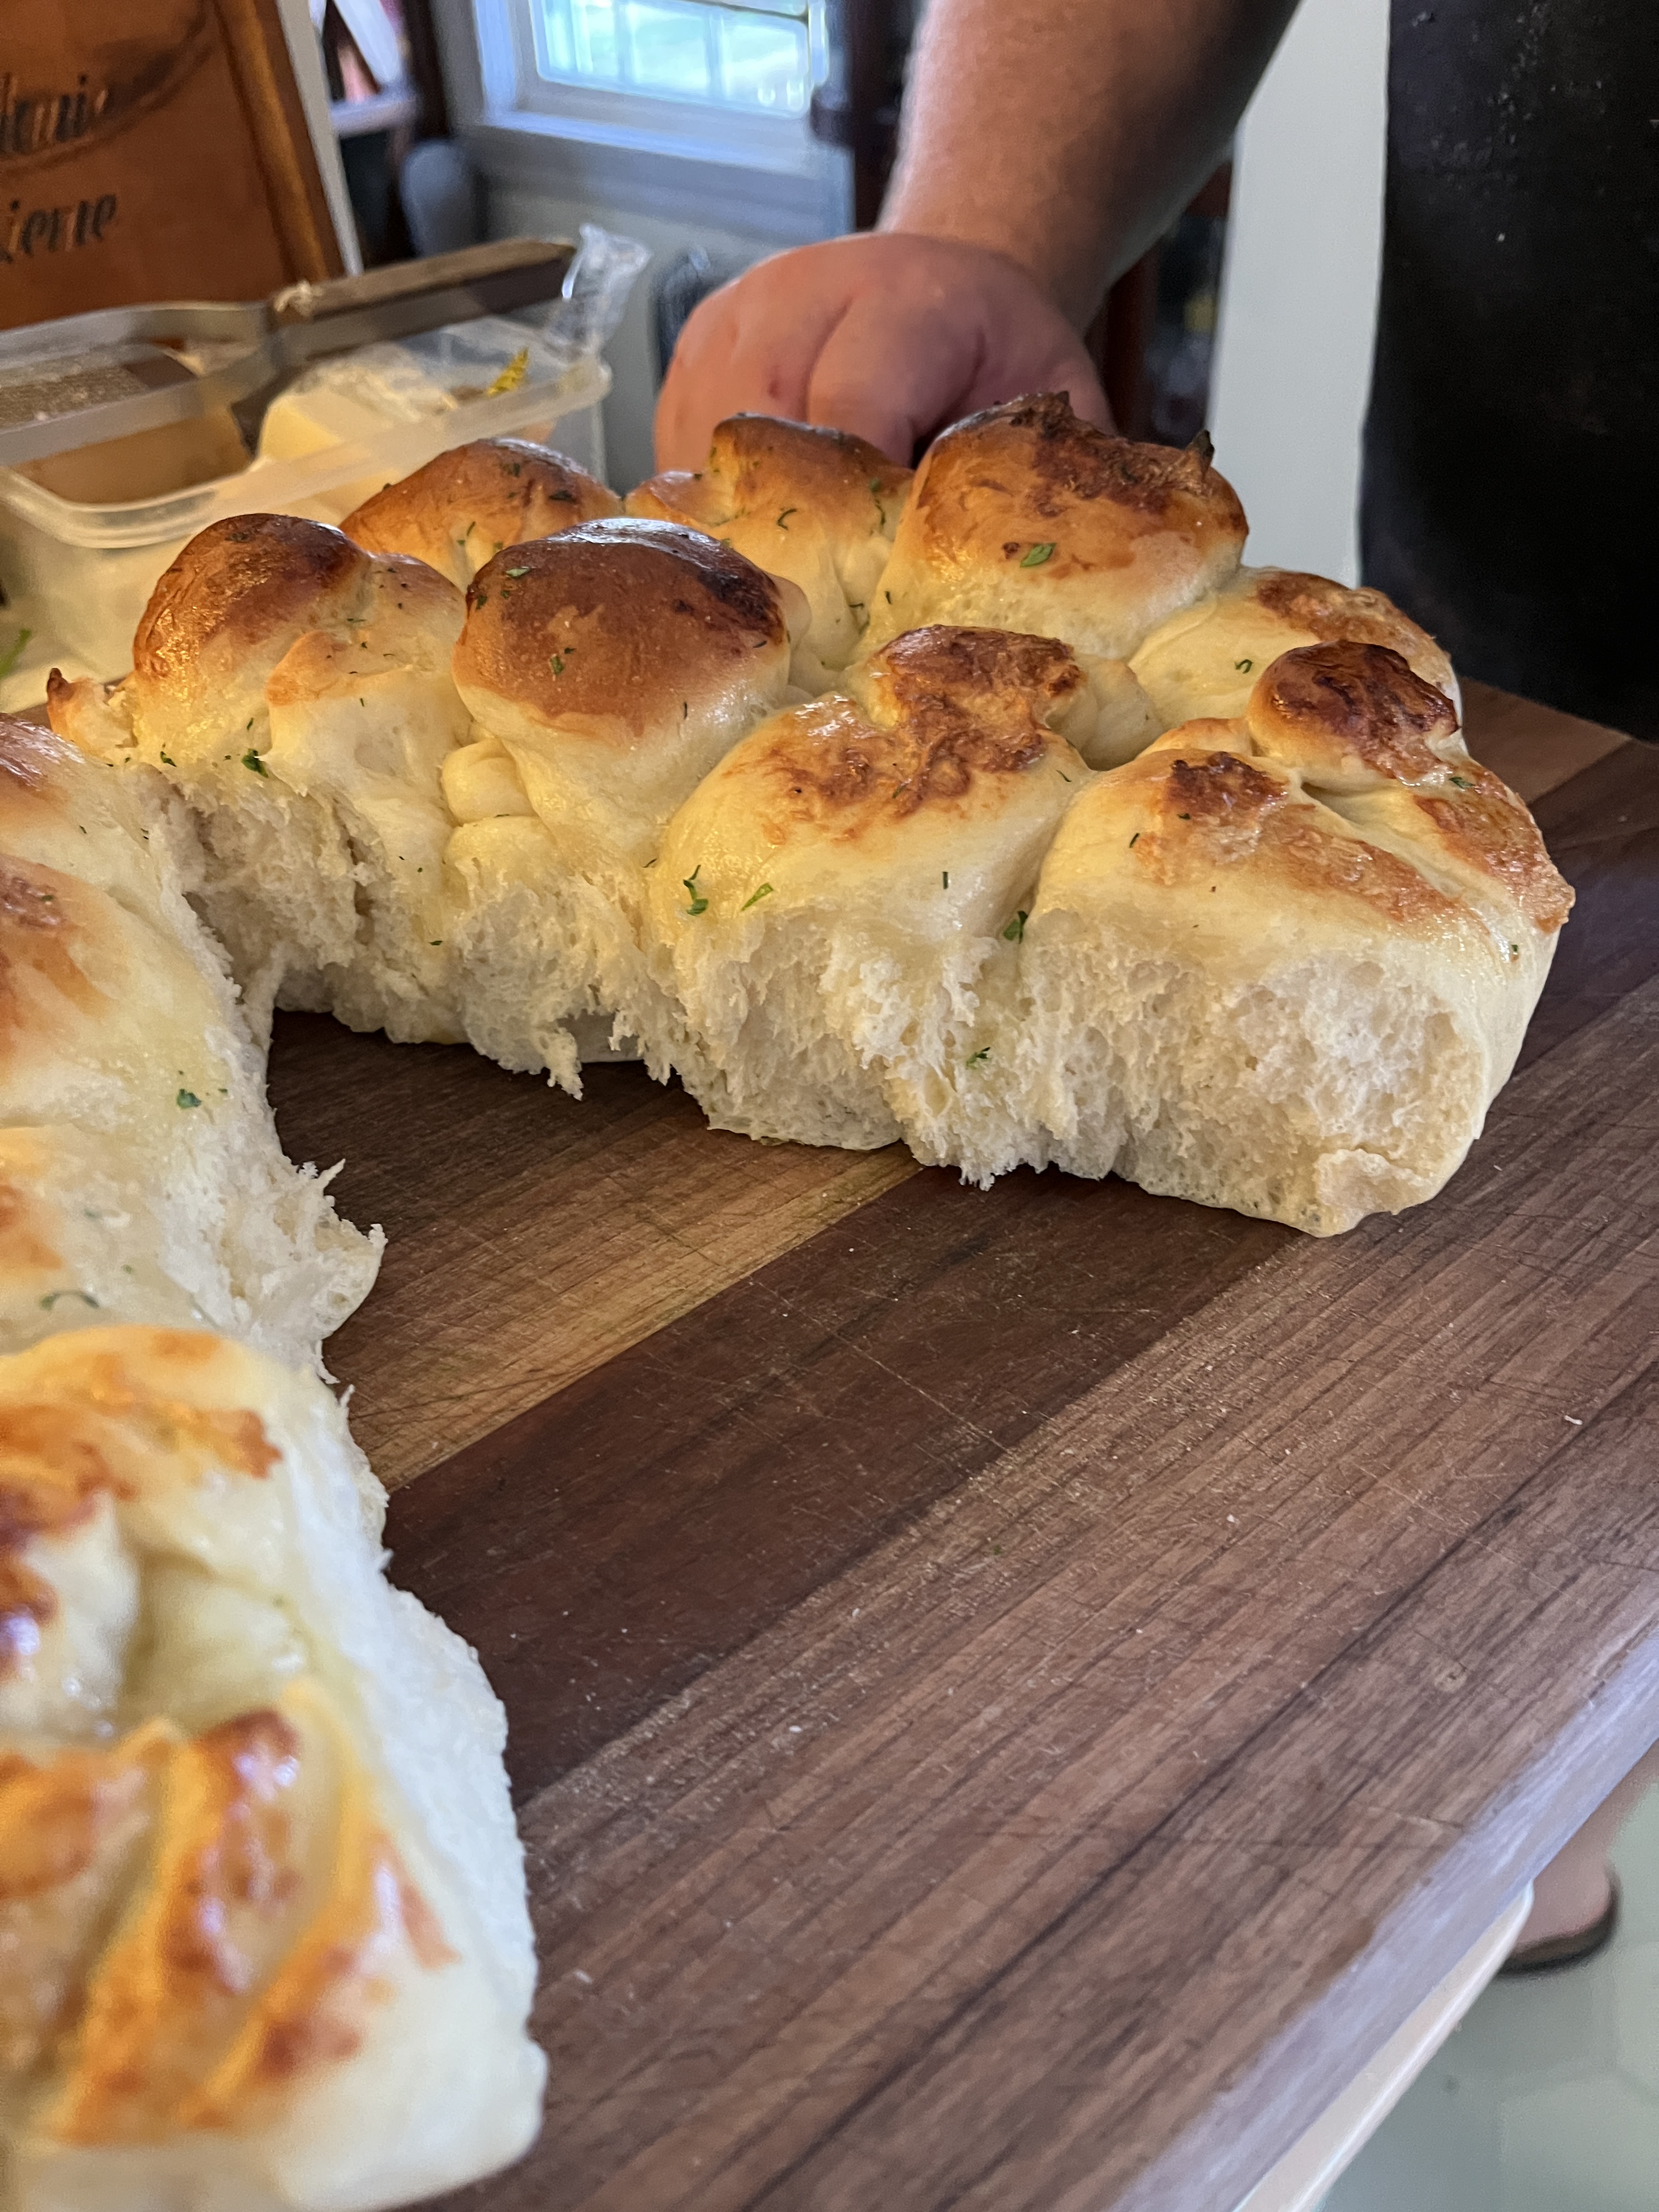
If you are looking for a delicious homemade bread roll to add to your dinner, here it is. I found this recipe in a book I bought titled The Great British Baking Show – Love to Bake, but I have altered it. The original recipe is titled Herby Garlic Rolls. I have omitted the garlic. You can add it in if you want to make the rolls true to the recipe.
Ingredients:
350 grams white bread flour
175 grams plain flour
7 grams fast-action dried yeast
275 ml whole milk, plus more for glazing
1/2 tsp sugar
1 tsp salt
1 egg, lightly beaten, plus 1 yolk for glazing
50 grams butter, softened
1-2 TBS fresh herbs, finely chopped (parsley and dill work well)
2 TBS extra-virgin olive oil
Directions:
Grab a baking tray and grease and line with parchment paper.
In a small bowl, gently warm the milk and add yeast, sugar, and salt. Give it a little mix and let it do its things for about 5 minutes, the yeast will be dancing around and activating.
In a stand mixer fitted with a dough hook (hopefully you have one, if not you will be doing this part by hand), add flours together with milk mixture, beaten egg and butter. Mix for 4-5 minutes, until the dough is smooth and elastic but slightly sticky.
Shape the dough into a ball and place in a lightly oiled bowl. Cover with slightly damp tea towel and let it rise for 1 hour. It should double in size.
Turn out the dough into a floured surface. Knead gently for 30 seconds then shape into disc. Cover with upturned bowl and let it rise for another 10 minutes.
Divide the dough equally into 12 portions, then shape into neat balls with seams on the undersides. Arrange the dough balls in the baking tray, they should be touching, not squashed together. Cover with tea towel again and let rise for another hour. At the end of the hour they should be light, puffy and almost doubled in size.
Heat oven to 180 C or 350 F.
Mix the egg yolk with the 1 TBS milk and carefully brush over the top of each roll. Bake on the middle shelf for 20-25 minutes, until well risen and golden brown.
While the rolls are baking, mix together the chopped herbs with olive oil.
As soon as the rolls come out, brush with herb and oil mixture. Leave to cool slightly.
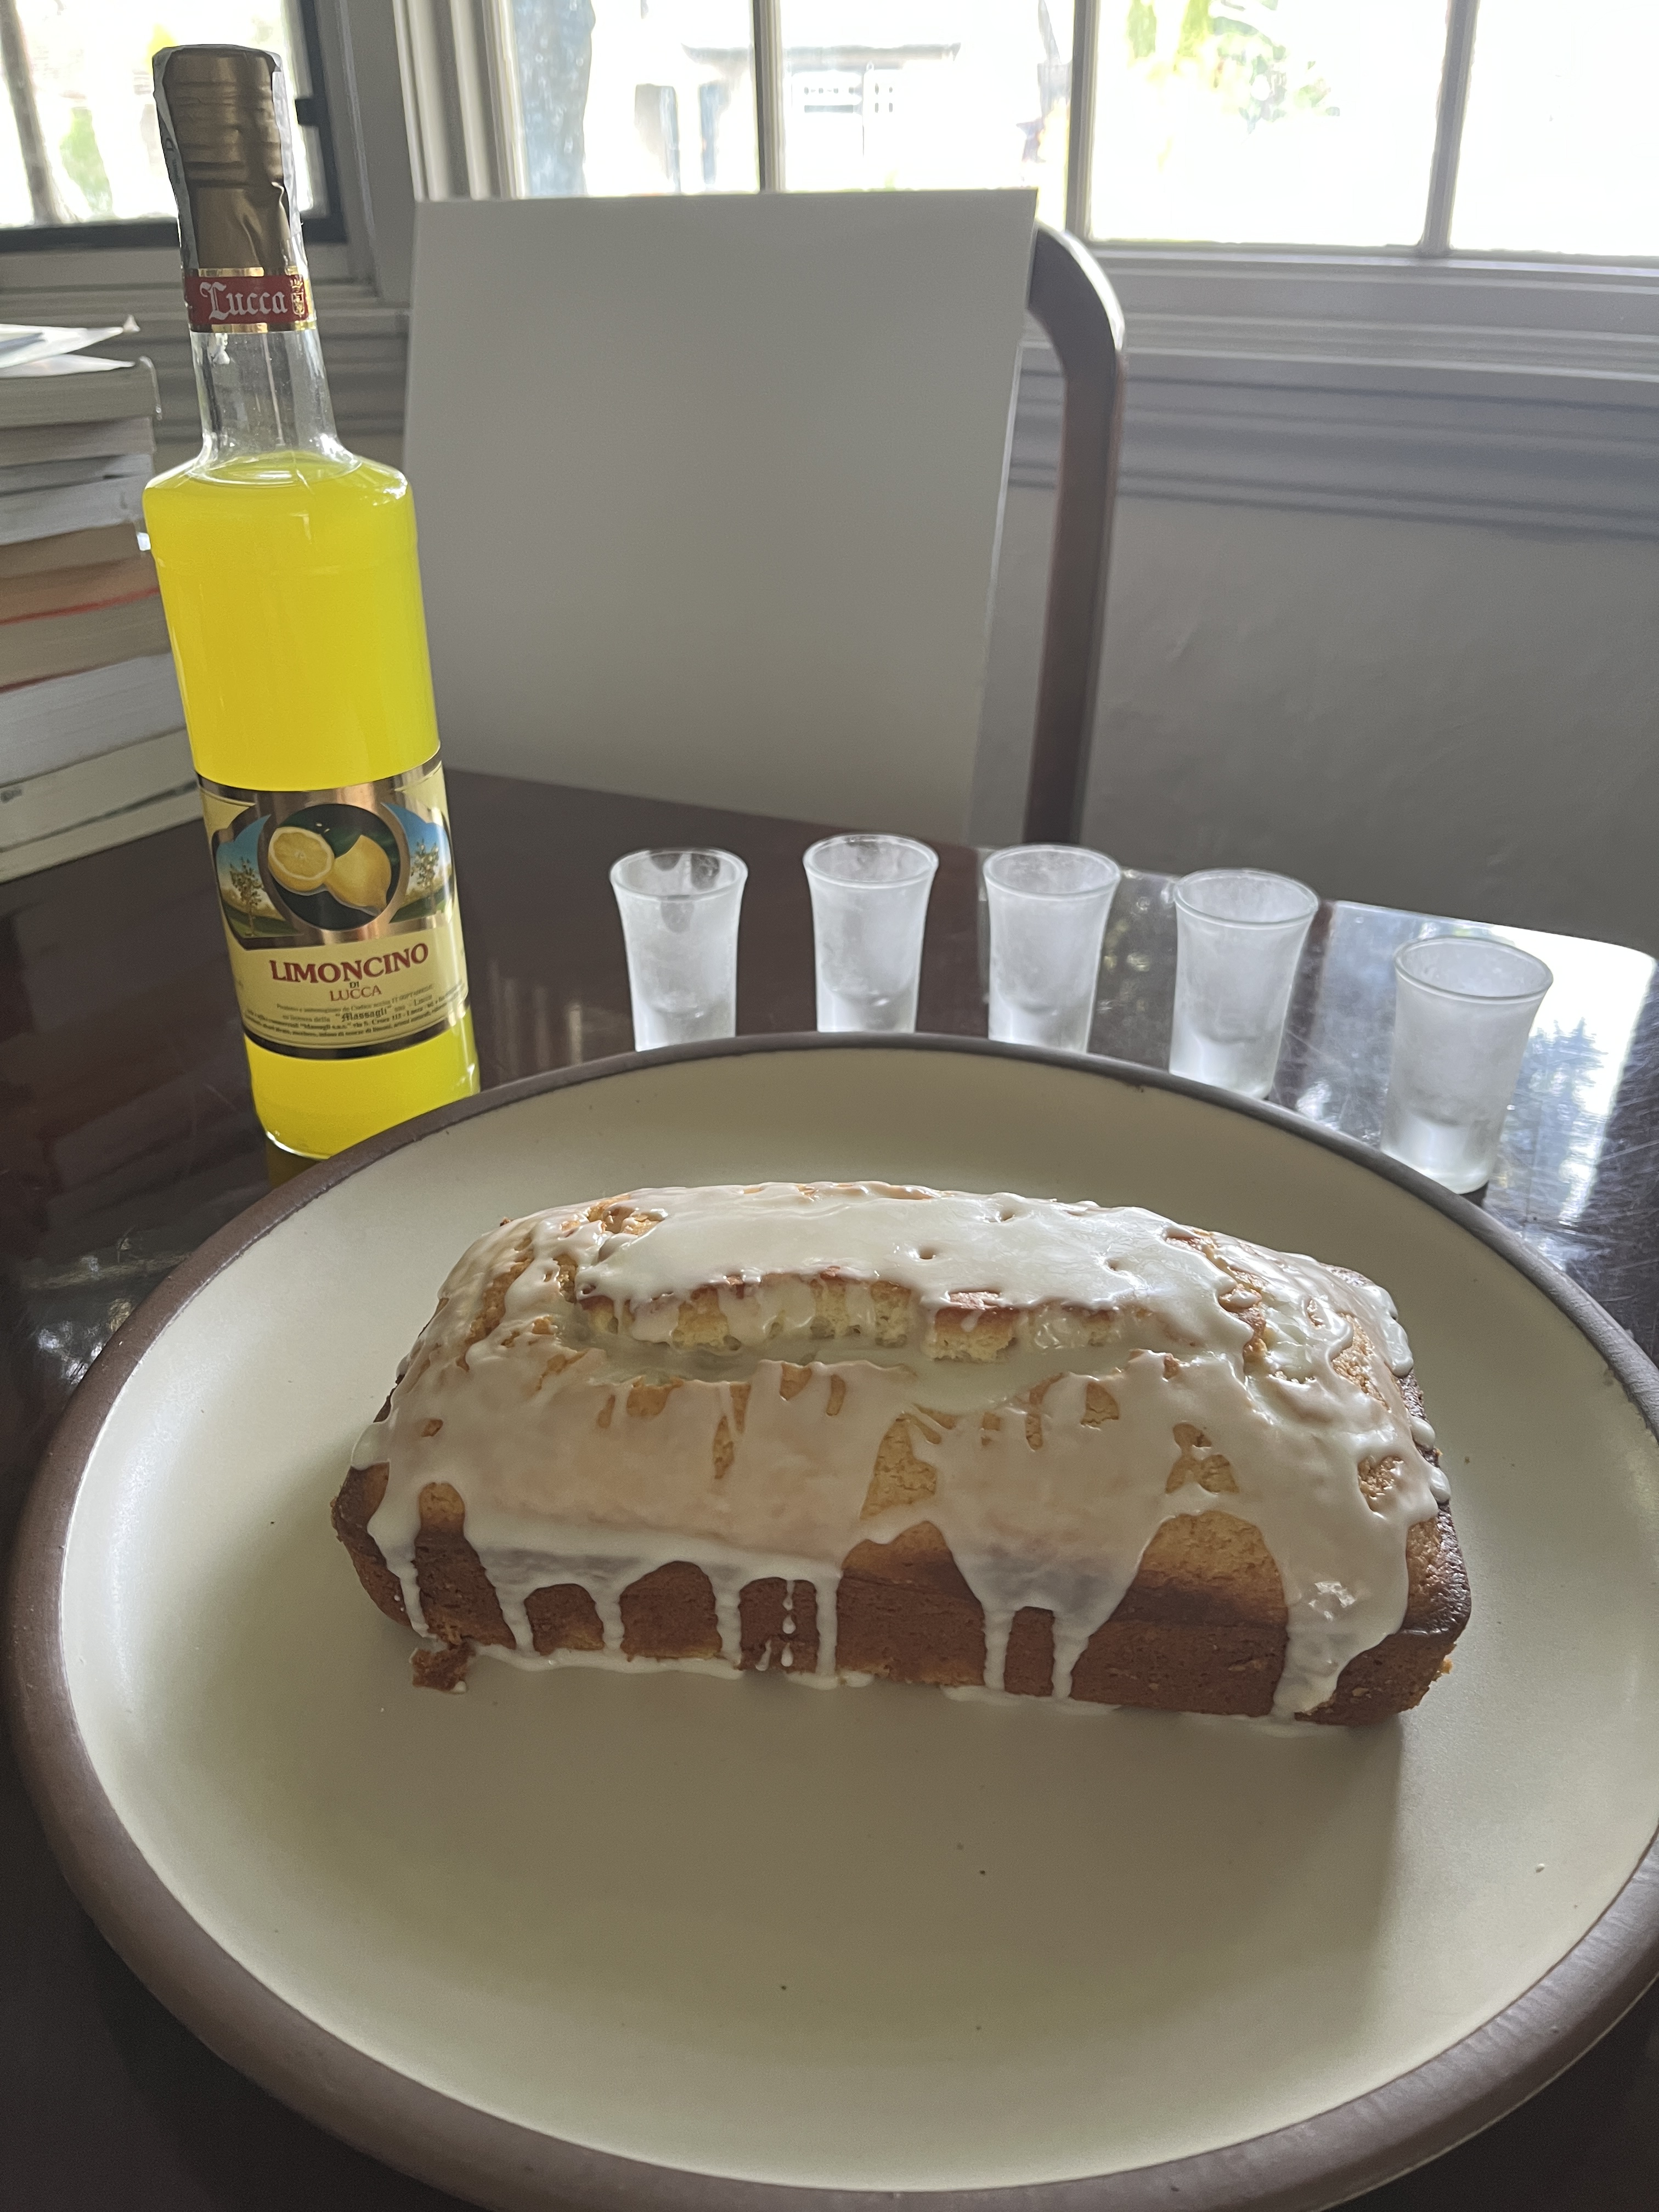
During our last trip to Italy, we brought back some amazing Limoncino so I decided to make a cake with a small amount of it. You might be wondering what is the difference between Limoncino versus Limoncello. Both are made from the same ingredients so it’s actually a regional thing. In the North, around the Portofino/Cinque Terre region, it’s Limoncino. In the South, around Naples/Sorrento, it’s Limoncello. I found this recipe on the website momontimeout.com. It’s a perfect cake to have with your coffee in the morning.
Ingredients:
1 3/4 cup all-purpose flour
1 tsp baking powder
1/2 tsp salt
1/2 cup canola or vegetable oil
1 cup sugar
3 TBS Limoncino
1 cup sour cream, room temperature
2 eggs, room temperature
1 TBS lemon zest
1/2 tsp lemon or vanilla extract
1/2 tsp vanilla extract
Glaze ingredients:
1 cup powdered sugar, sifted
3 TBS Limoncino
Directions:
Preheat oven to 350 F and grease a 9 X 5 loaf pan, lining with parchment paper.
Whisk together flour, baking soda, and salt in a bowl.
In another bowl whisk together oil, sugar, Limoncino, sour cream, eggs, lemon zest and extracts.
Combine wet and dry ingredients together until just combined, do not over mix.
Place batter in loaf pan and bake for 45-55 minutes, or until toothpick inserted in the center comes out with moist crumbs.
Let the cake rest in the pan for 10 minutes before removing onto a wire rack to cool.
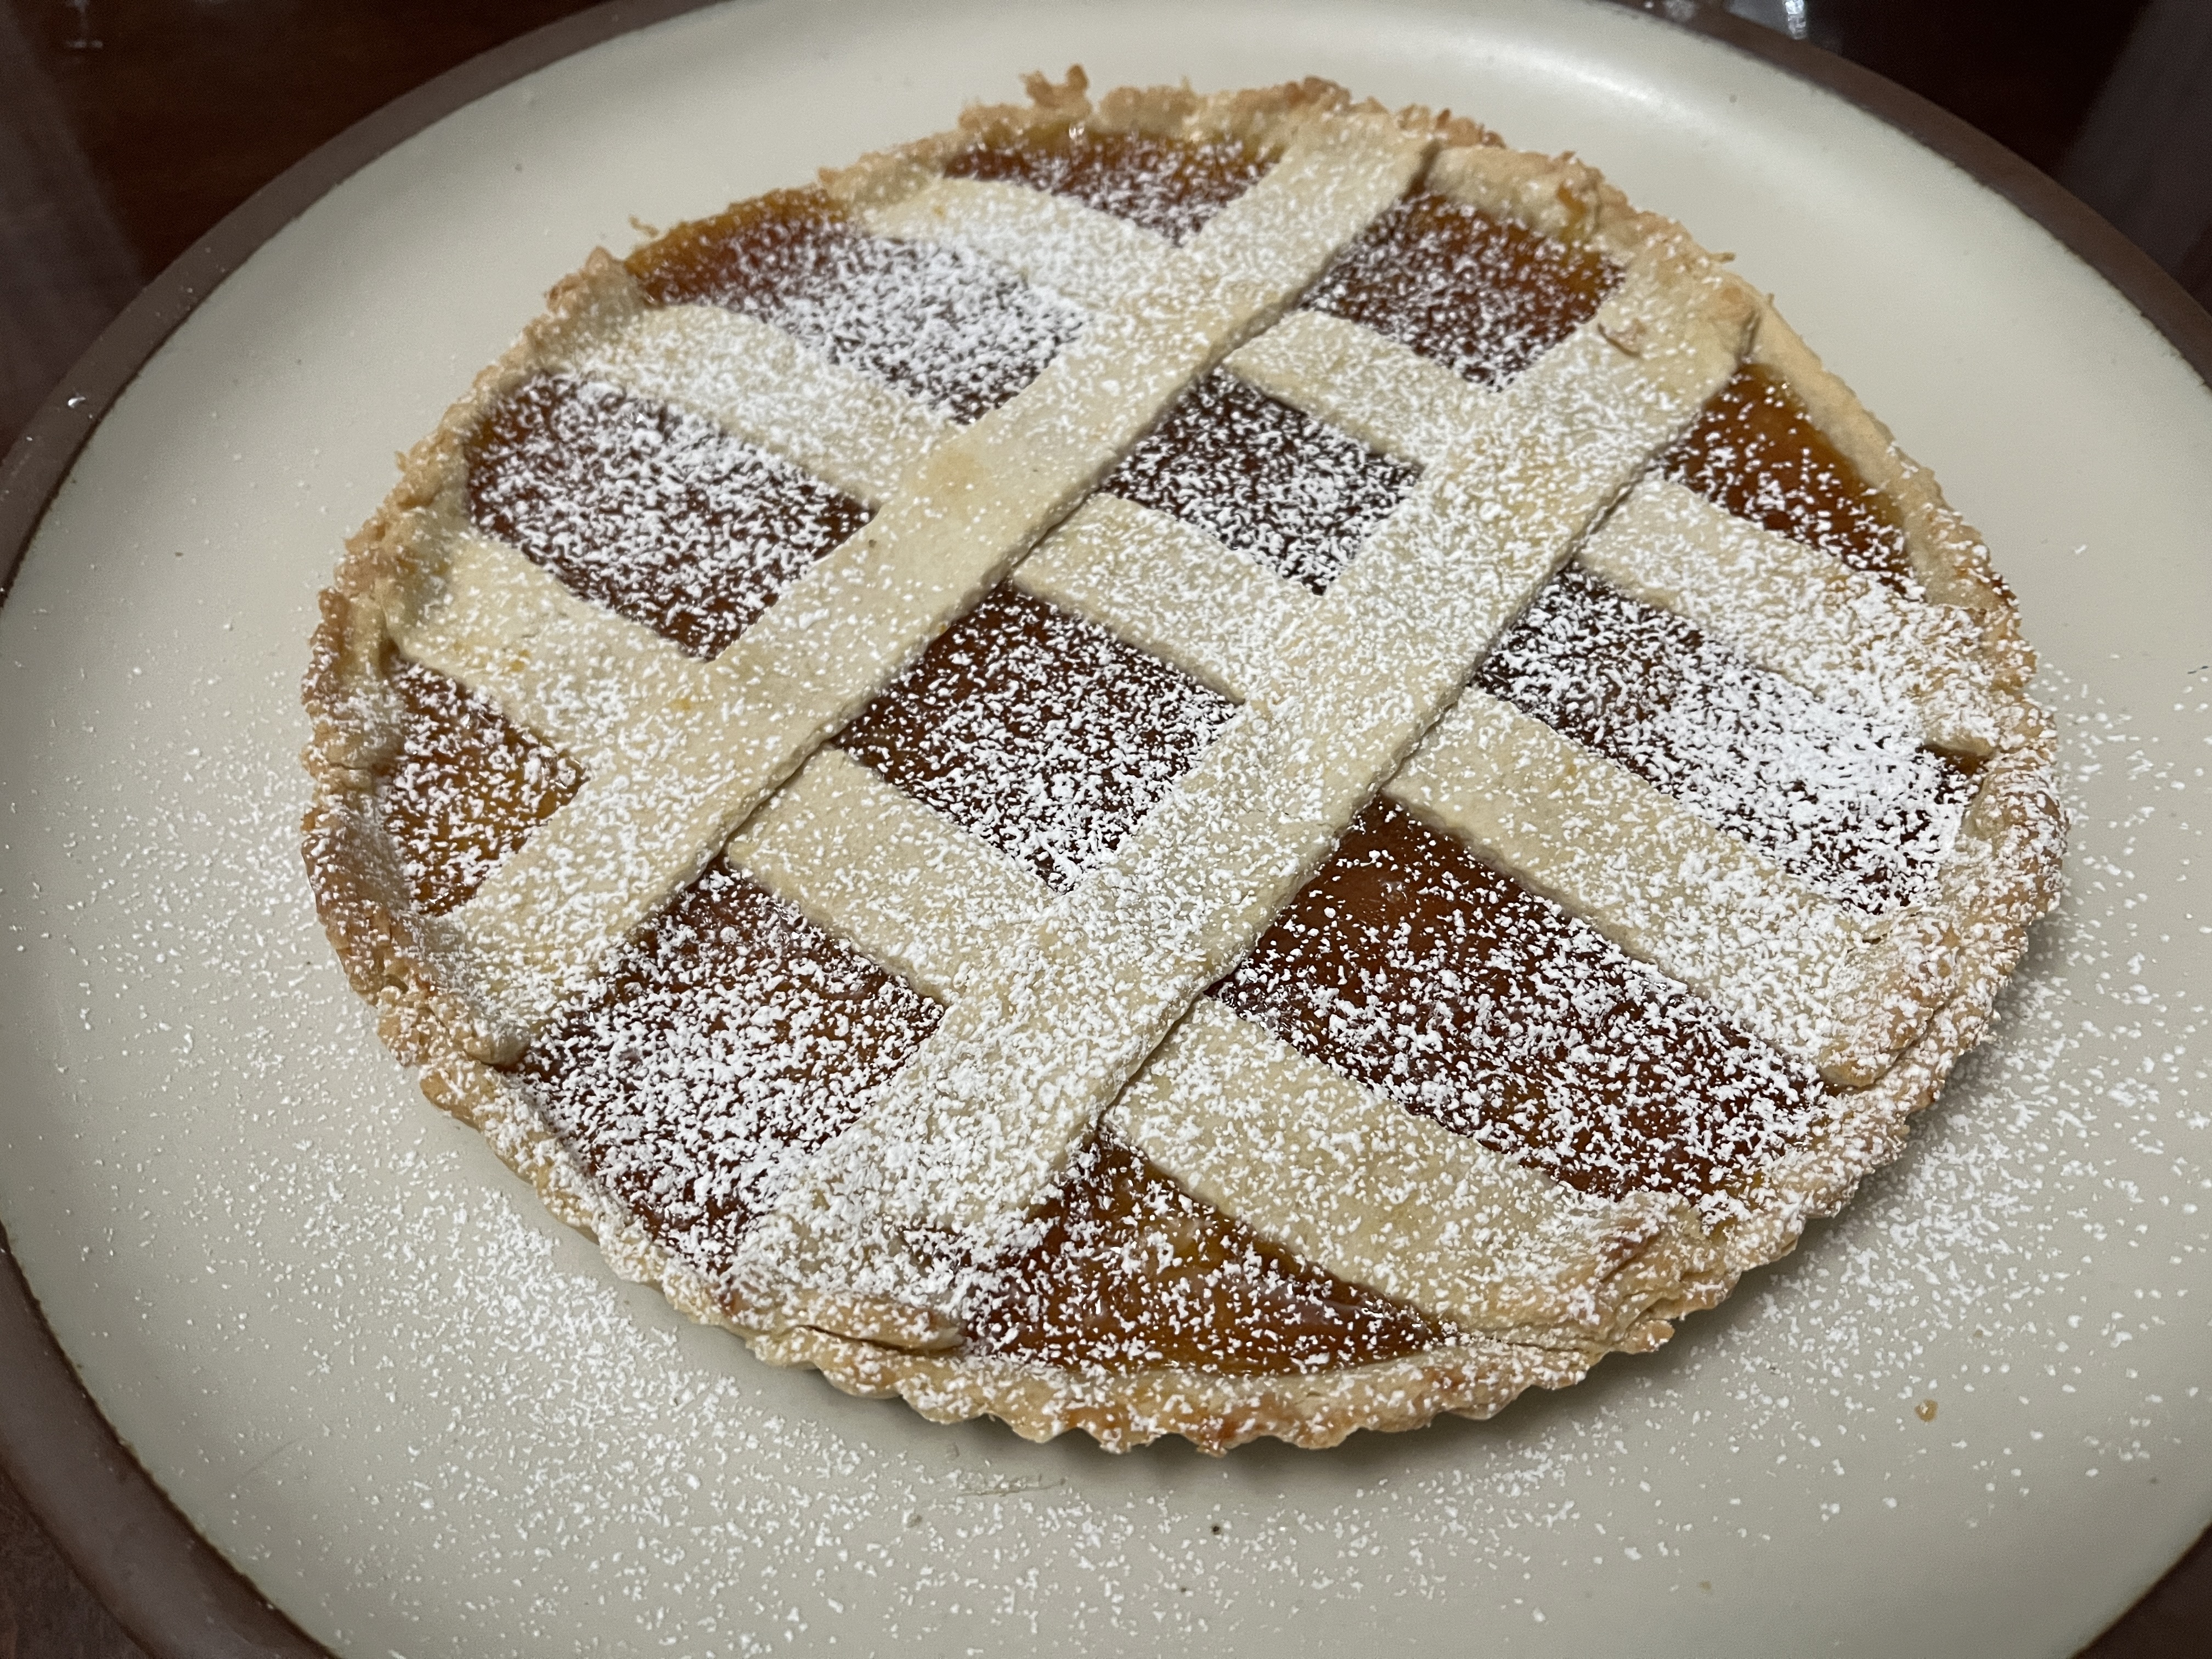
My boyfriend and I were lucky enough to spend most of January in Italy this year. One of my favorite sweet dishes that I tasted was a crostata di marmellata (jam filled tart) in Bologna. In Italy this is considered a breakfast item but I will probably eat it as a dessert.
This recipe is another recipe from Pasta Grammar’s duo Eva and Harper, which is featured in their amazing cookbook The Italian Family Kitchen. This is a close replica to the one I had in Bologna.
Ingredients:
2 1/2 cups all-purpose flour, plus more for dusting
3/4 cup powdered sugar, plus more for dusting
10 TBS unsalted butter, cold, cut into small pieces
1 large egg, room temperature
Grated zest of lemon
24 ounces fruit jam or marmalade
Directions:
In a large bowl combine flour, powdered sugar, butter, egg and lemon zest. Knead everything together by hand until a dough forms. Shape the dough into a ball, wrap in plastic and refrigerate for 30 minutes.
Preheat oven to 355F. Grease a 9 inch pie or tart pan with butter and dust with flour.
Remove the dough from the fridge and cut off two thirds of the dough to use for the base and leave the other one third portion in the fridge. Roll out the dough on a floured surface and gently press down into the pan.
Spread the jam evenly into the prepared crust.
Roll out the remaining dough and cut into 6 strips that are each 1/2 inch wide. Lay 3 strips parallel over the top and the other 3 strips in the opposite direction.
Bake 25-30 minutes, until crust is golden brown.
Allow to cool then dust with powdered sugar before serving.
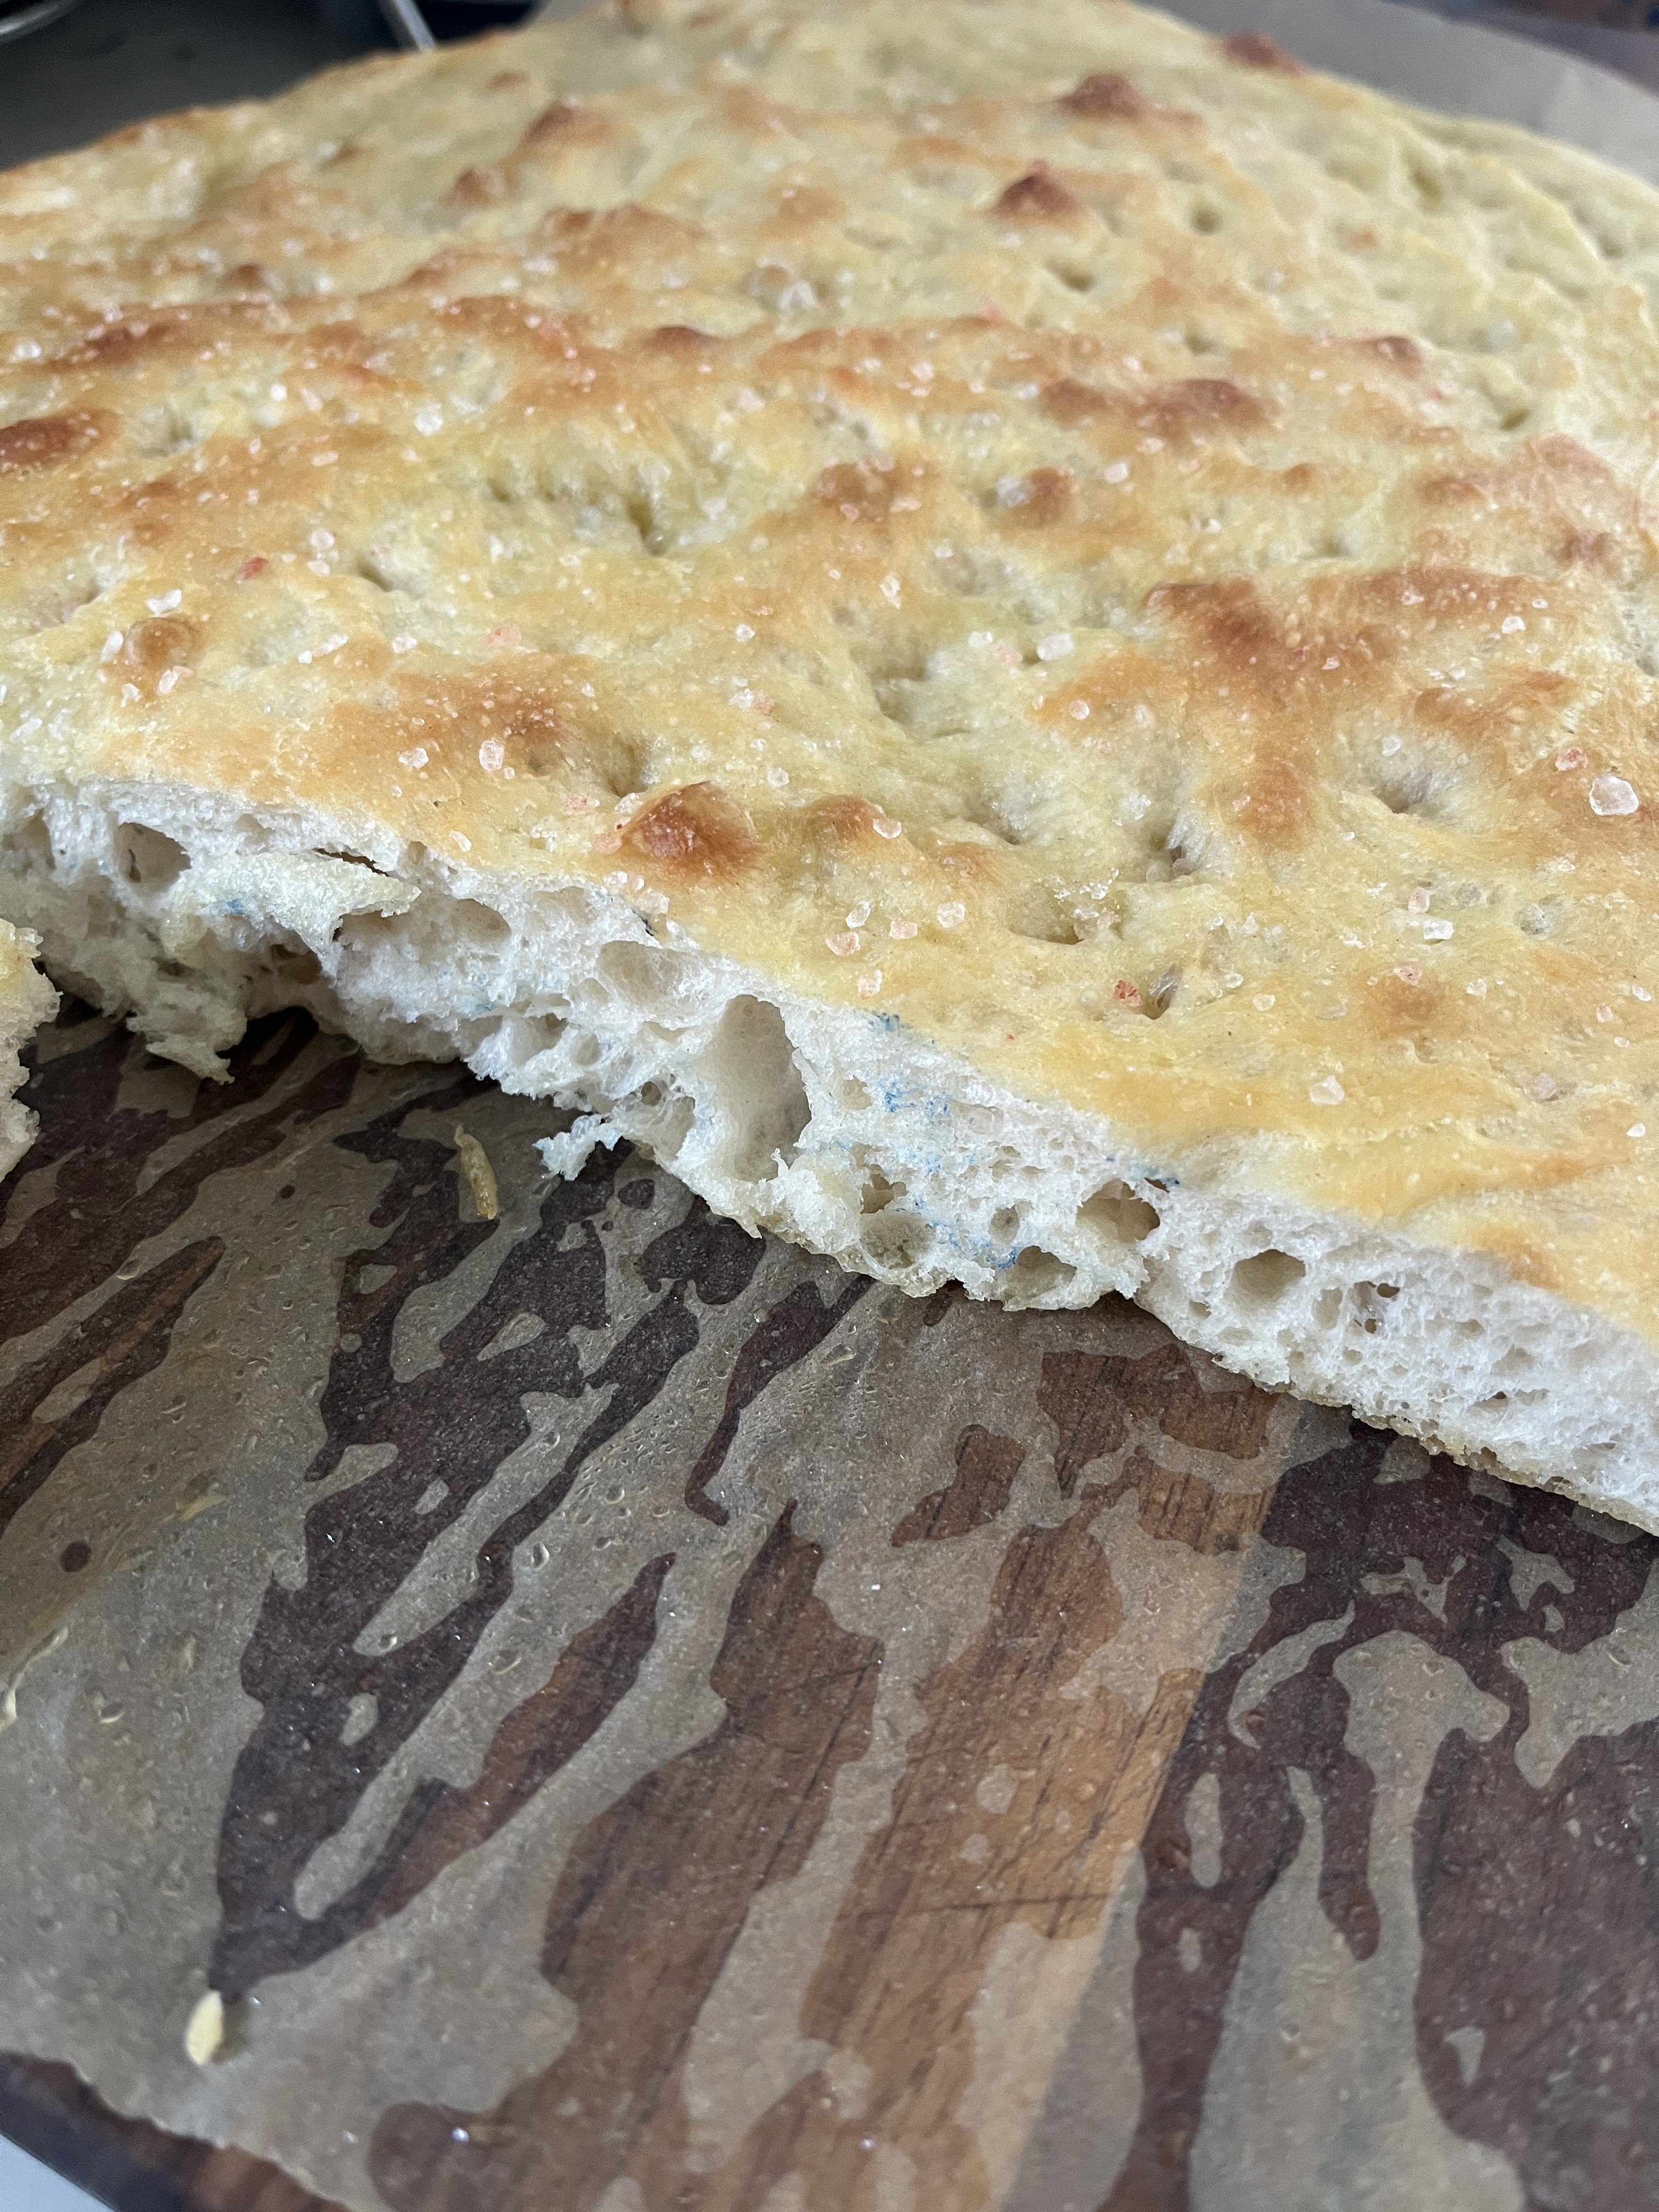
Home made bread is so amazing! This focaccia bread is another one of my bf’s recipes and he is not sure where it came from so I am giving him all the credit. You are going to need a few hours for this one so that the dough can rise a few times.
Ingredients:
500 grams type “0” flour
10 grams yeast
1 tsp white sugar
400 grams water
10-15 grams salt
2 tsps olive oil, and more as needed
Directions:
Combine water and yeast, add sugar and let sit for a few minutes. Add flour and salt, mix well. Add olive oil and mix again. Form into a dough ball and let sit covered for 20 minutes while the yeast works its magic.
Stretch and fold the dough, cover again and let rise for one hour.
Stretch and fold the dough, cover again and let rise for 30-40 minutes.
Preheat oven to 480F.
Place on a baking sheet coated with olive oil. Drizzle olive oil all over dough and press out into pan with finger tips. Add more olive oil to the top of pressed out dough and sprinkle with salt. At this point you can add olives, herbs, or anything you would like to top the focaccia bread with.
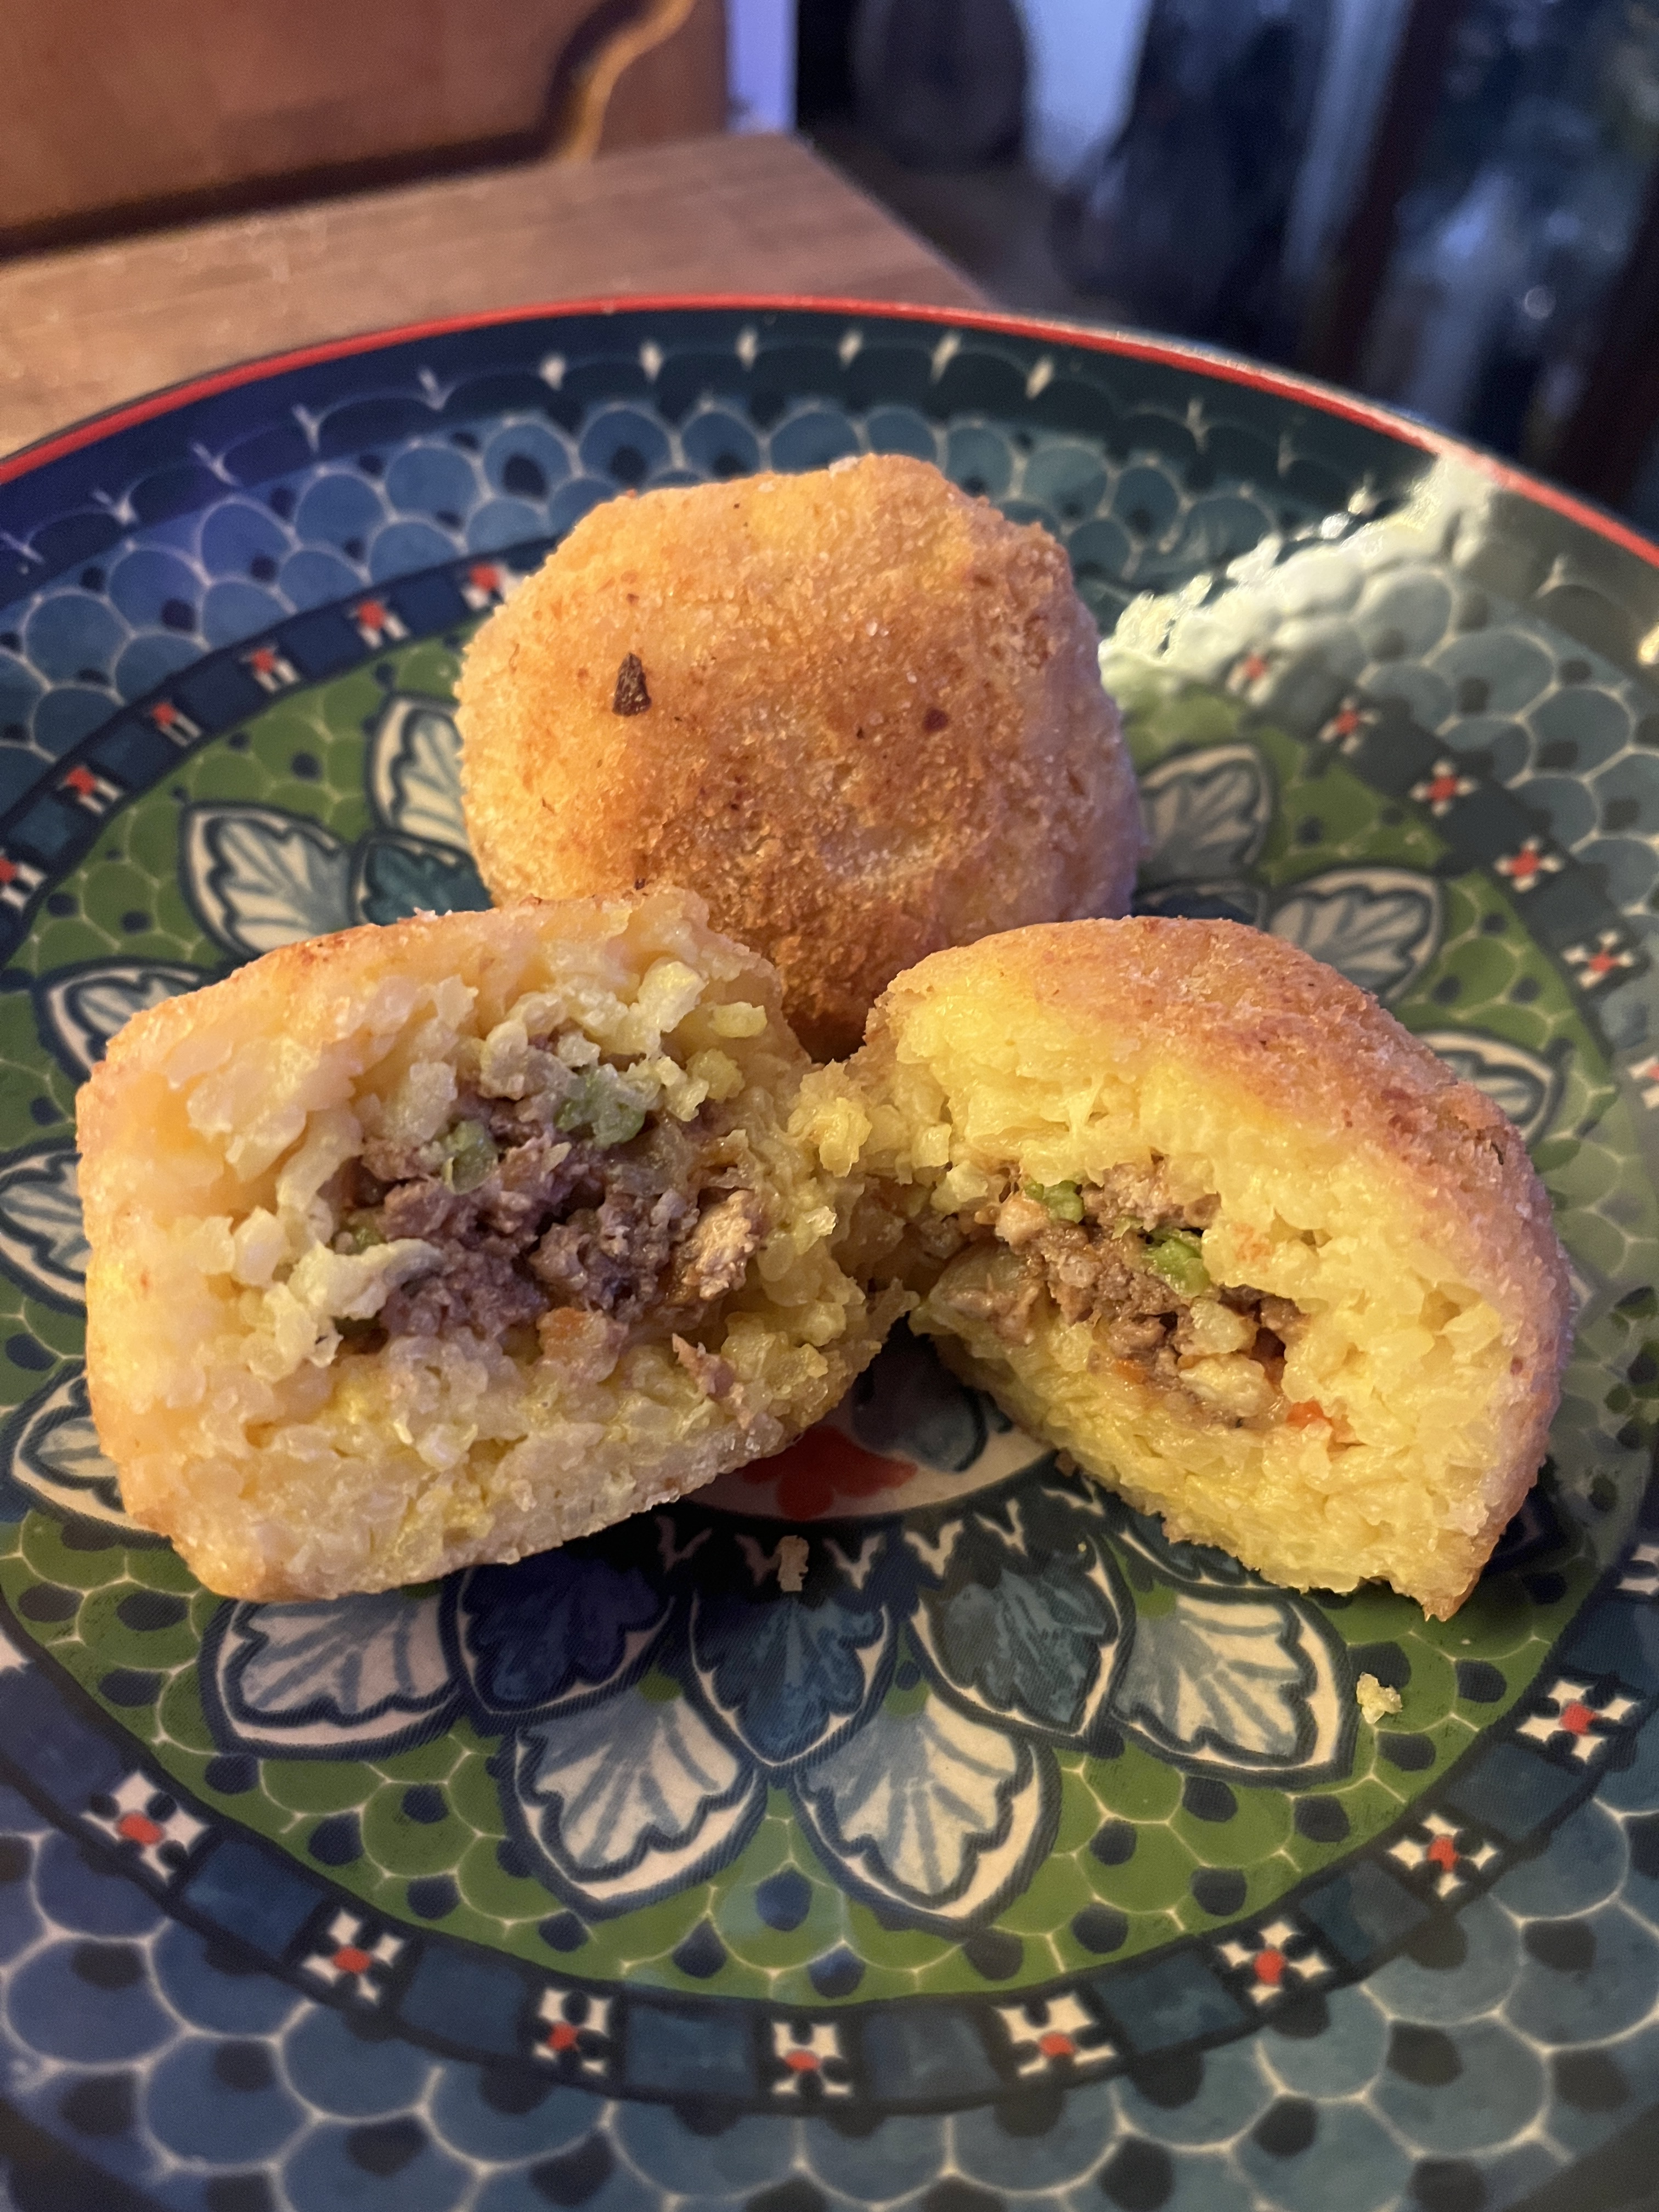
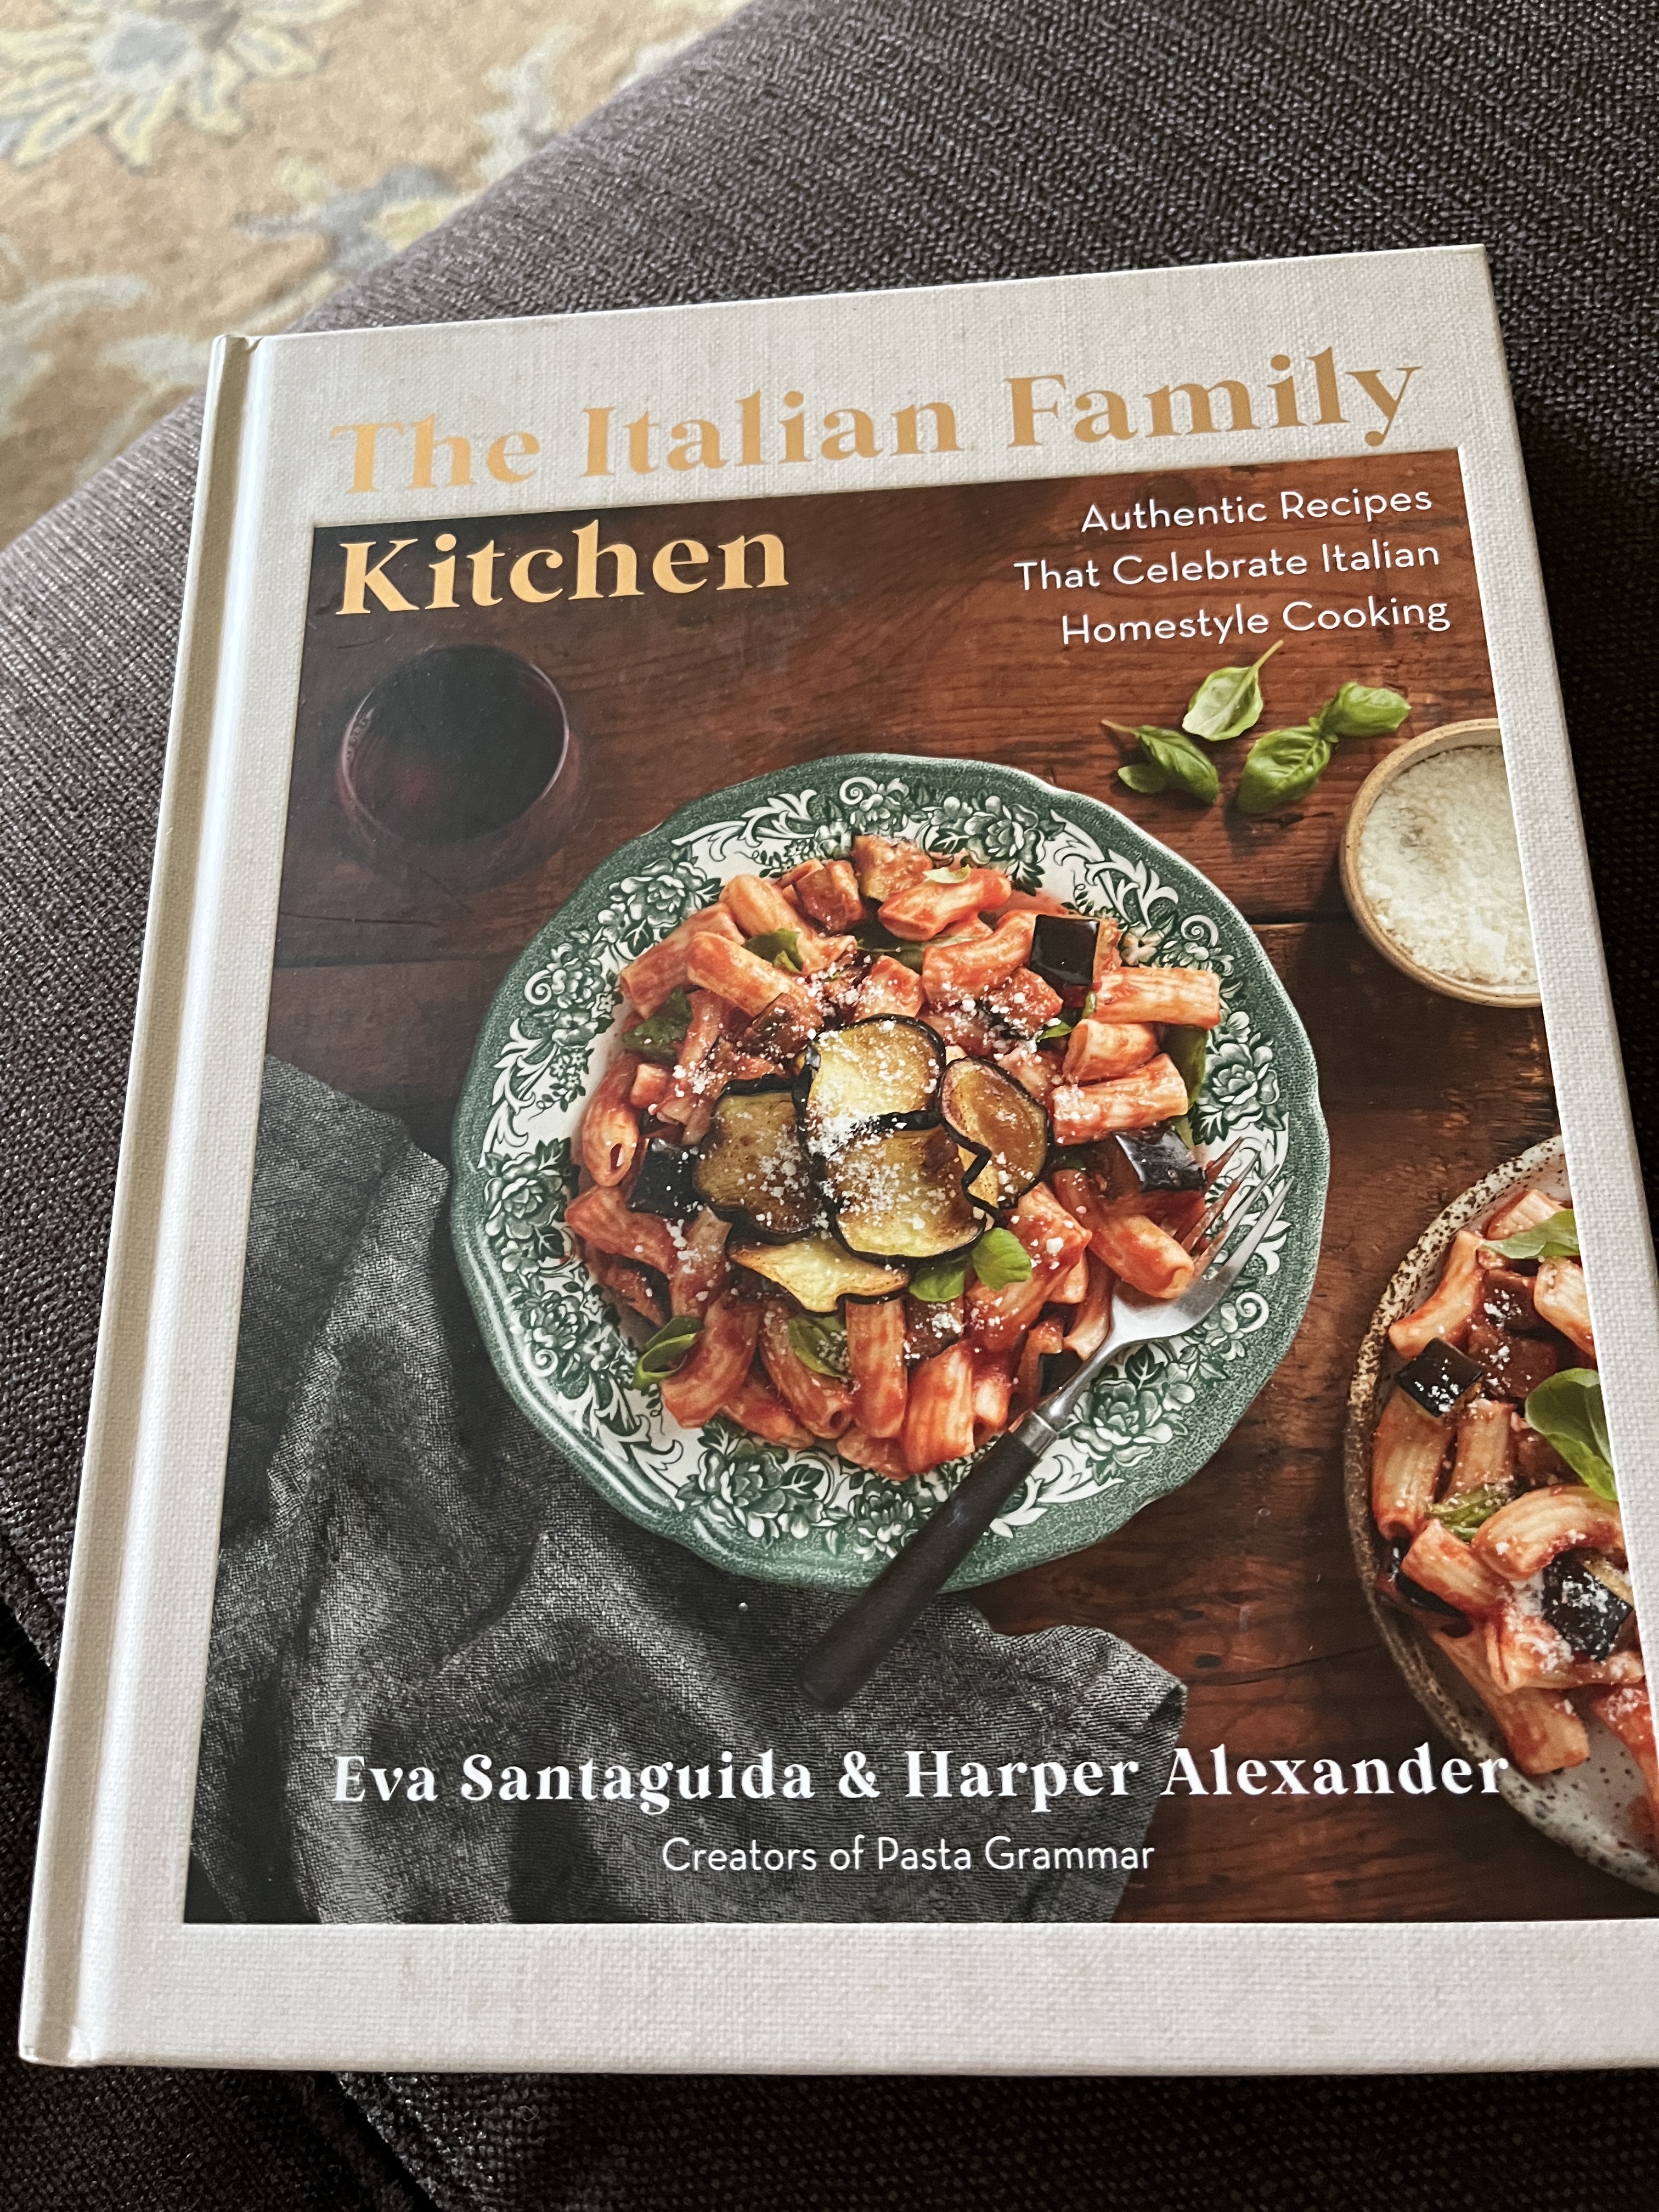
I recently bought Eva and Harper’s cookbook, The Italian Family Kitchen, and this is the first recipe I have tried. Eva and Harper are the creators behind the YouTube channel Pasta Grammar. We have been watching it for years and hope to do their tour to Dasa, Italy someday.
Here is the recipe for the delicious fried balls of rice stuffed with goodness:
Ingredients:
3 TBS extra-virgin olive oil
1/4 white onion, diced
1/2 carrot, diced
1/2 celery, diced
4 ounces ground beef
4 ounces ground pork
2 bay leaves (I only used one)
Pinch of ground cloves
5 tsp salt, plus more to taste (I used 2 tsp)
Freshly ground black pepper
1/4 cup white wine
2 TBS tomato paste
1 cup warm water
1/3 cup frozen peas
1/2 cup grated caciocavallo or sharp provolone cheese (I used Parmigiana Reggiano from Italy)
2 cups arborio rice
1/4 tsp saffron
1/4 cup unsalted butter (I used salted butter)
2/3 cup all-purpose flour
Bread crumbs
Vegetable oil for frying
Directions:
Heat olive oil and sauté onion, carrot and celery until tender. Add the ground meat and cook until browned while breaking it up into crumbles. Stir in the bay leaf, cloves and salt and pepper to taste.
Add the wine and bring to a simmer for 4-5 minutes or until most of the excess liquid has evaporated. In a small bowl, dissolve the tomato paste into the warm water. Stir the diluted tomato paste into the meat mixture.
Partially cover and bring to a simmer for 30 minutes. Stir in frozen peas and simmer again for another 30 minutes. The ragu should be dry. Turn off the heat and stir in the cheese. Let this cool to room temperature.
While you are cooking the ragu, combine the rice, saffron, butter and salt with 4 cups of water and bring to a simmer. This is where I became worried about putting in 5 tsp of salt. Because I used salted butter, I made the decision to use 2 tsp of salt instead. Cover and cook until water is absorbed and rice is done.
Spread the rice flat onto a large, rimmed baking sheet and let it cool to room temperature.
Once everything is room temperature, place the flour in a bowl and mix in just enough water to make a thin batter. Place bread crumbs on a plate.
Wet your hands and scoop a large handful of rice, then flatten the rice into your palm. Press a shallow depression into the center and place a heaping tablespoon of ragu inside. Cover the ragu with another handful of rice and press the arancini closed into a smooth, round ball. Roll the ball into the batter and then into the breadcrumbs.
Fill a large, deep pan with 4 inches of vegetable oil and heat to frying temperature. Work in batches to give the arancini space within the pan you are using. Gently turn frequently. Once all sides are golden brown place on a plate with paper towel to drain the oil. Let cool for a few minutes.
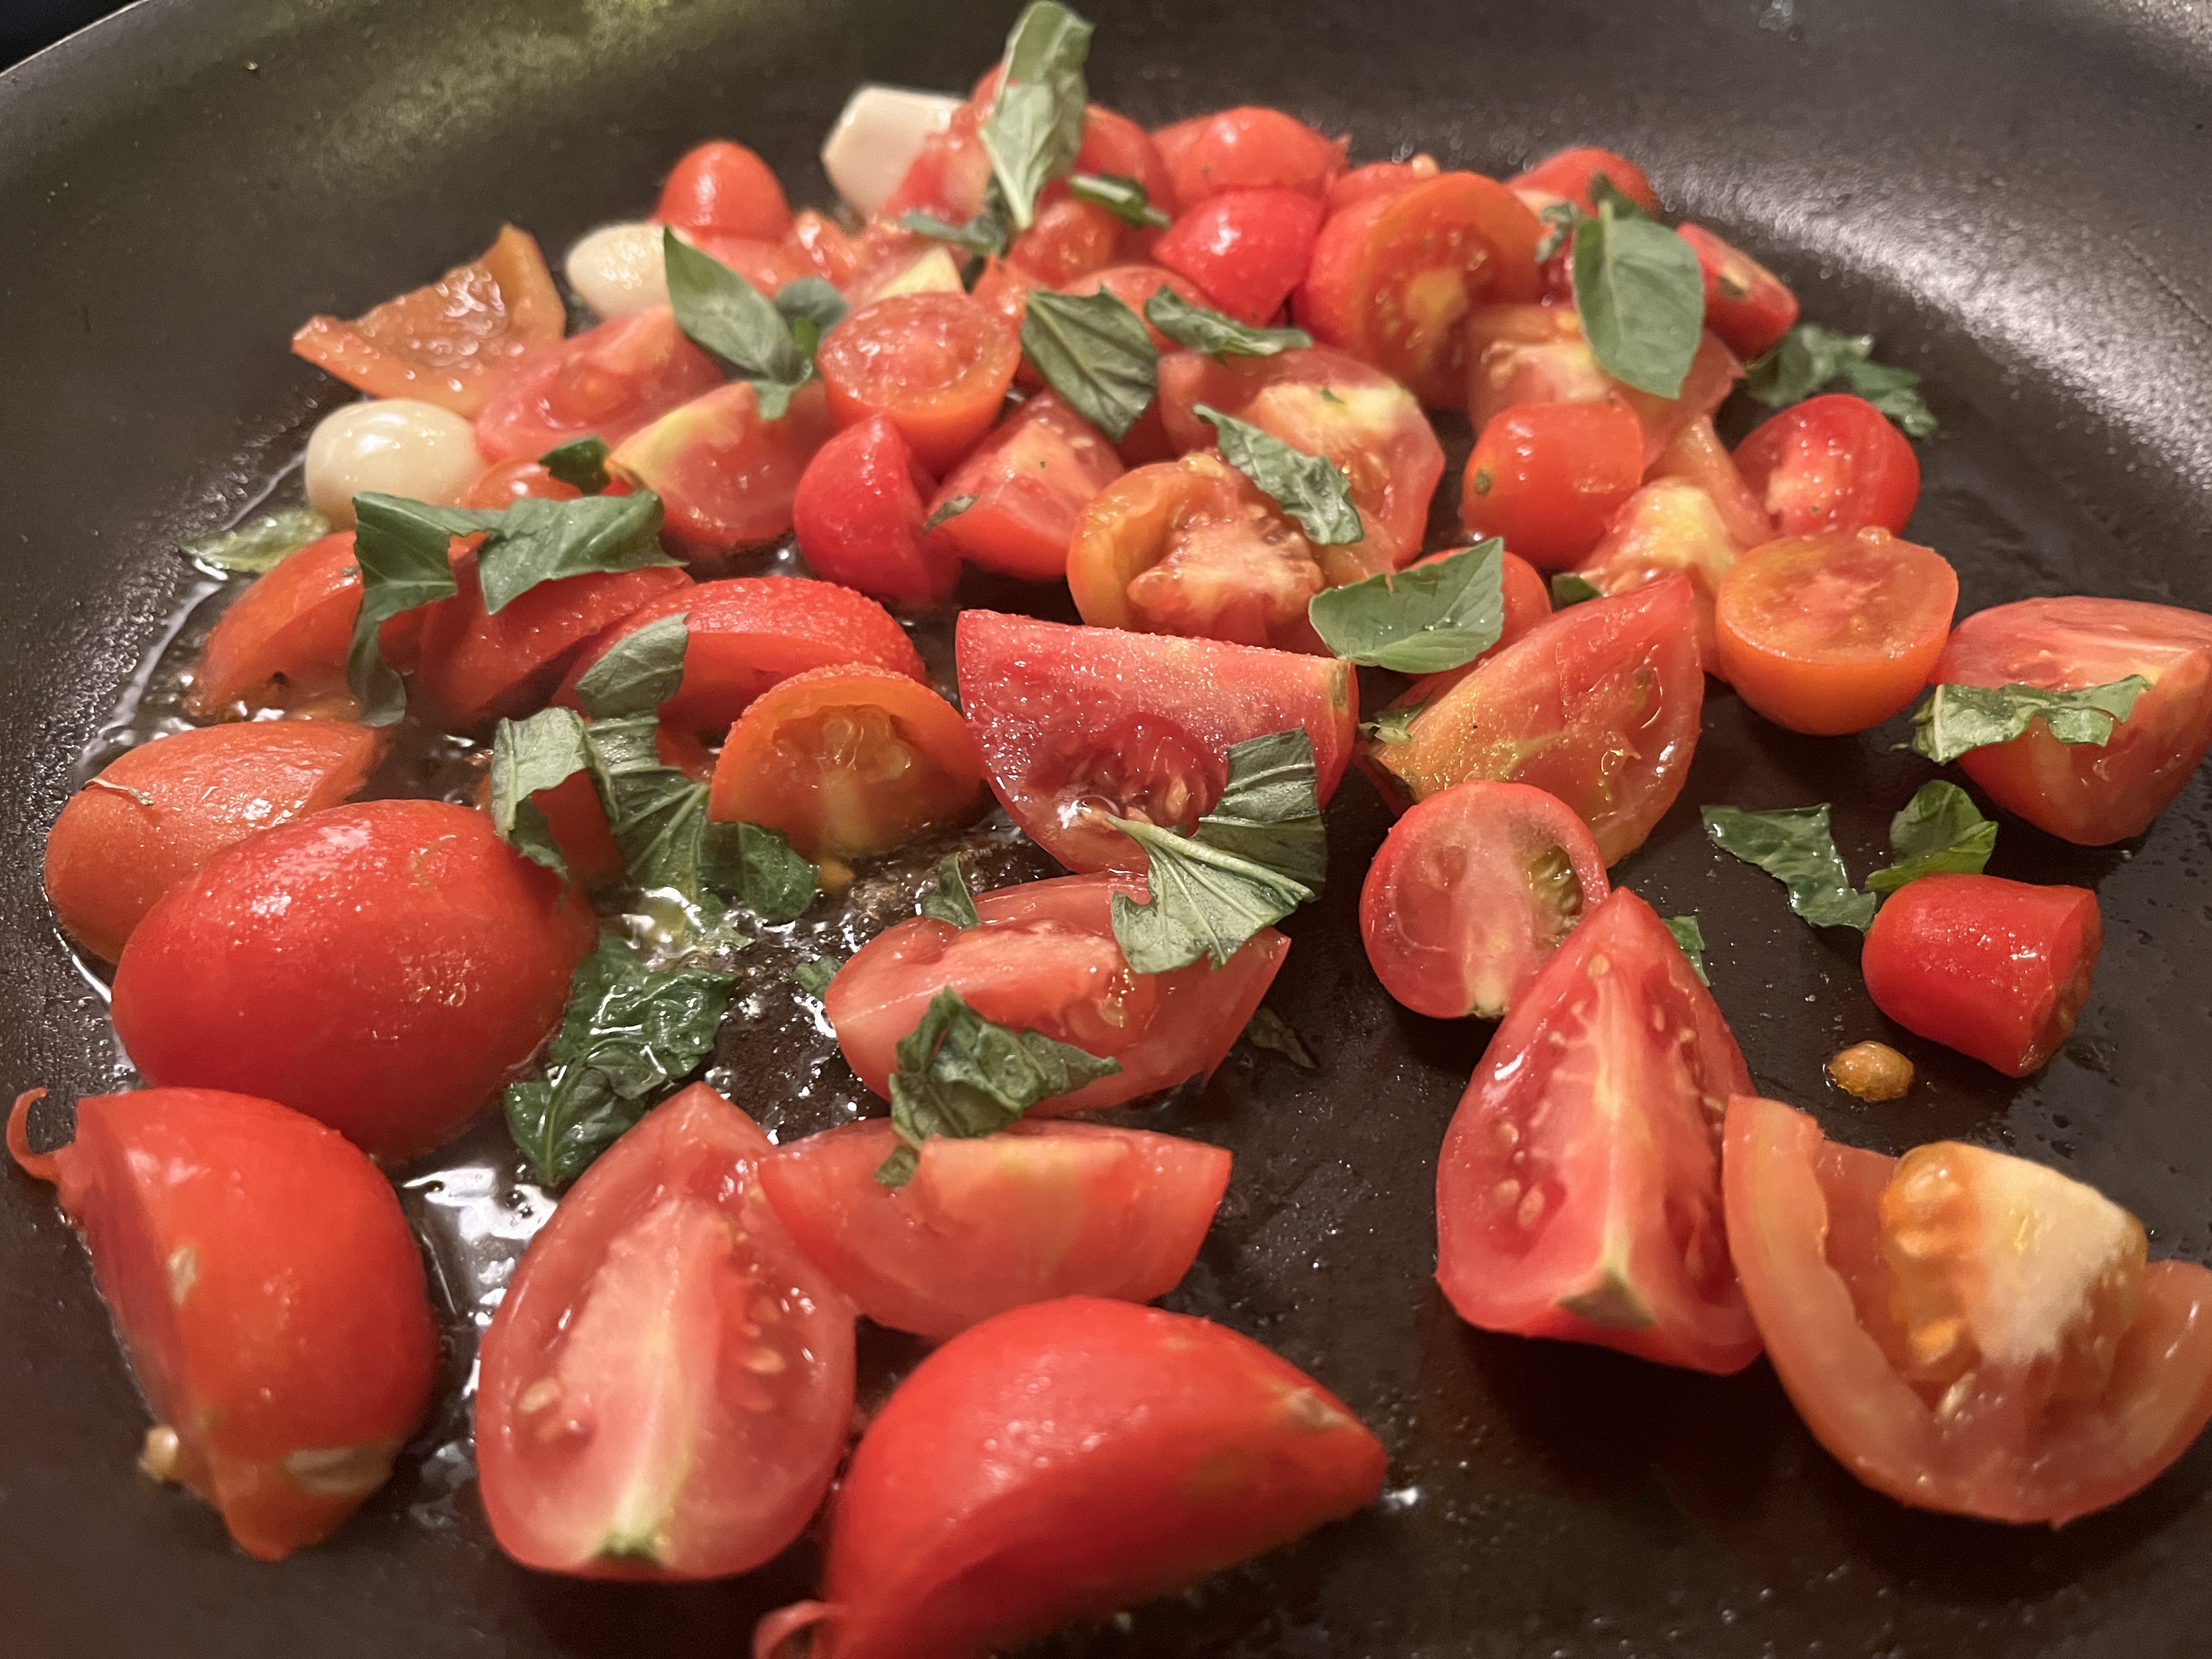
What to do with all of the fresh tomatoes that are growing in your garden? Here is an excellent and easy recipe for you. I found this one on Instagram from the profile our_cookingjourney. With just a few ingredients needed, use the freshest ingredients you can find.
Grana Padano cheese (I used parmigiana as a substitute)
Directions:
Boil a pot of water and start cooking your pasta.
Heat the olive oil in a sauté pan, add the whole, peeled garlic and cook for about 1-2 minutes.
Add the tomatoes, chopped, with a pinch of salt and fresh basil, torn. Add a touch of pasta water, cover and cook for about 5-10 minutes.
Remove the garlic and press it. At this point it should have a butter like consistency. Place the garlic back in the tomato mixture. Cook for a couple more minutes.
Place your cooked pasta in the sauce and mix.
Take it off the heat and add a bit more pasta water, olive oil, shredded cheese, and fresh, torn basil. Toss it all together and serve.